Foil printing file requirements for metallic finishes
Foil printing file requirements: what your file needs for metallic finishes
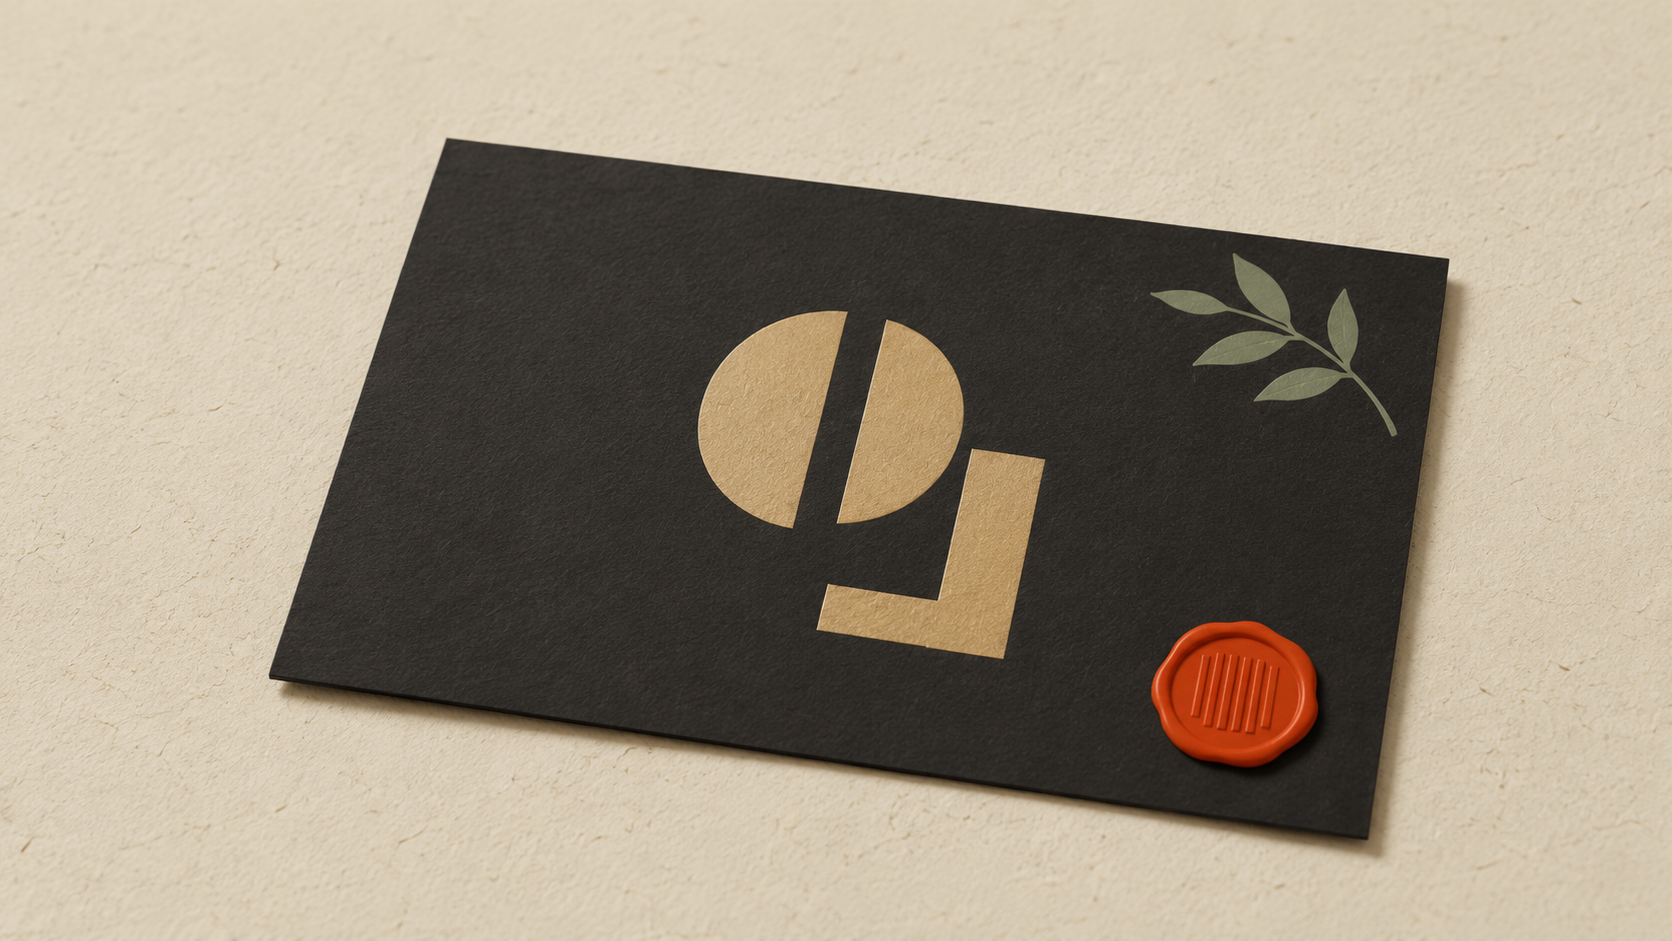
Foil printing turns a printed piece into something premium. The metallic shine catches light, the texture has weight, and the result reads as "expensive" before anyone reads a word. Business cards with gold foil names, packaging with silver brand marks, wedding invitations with copper accents — all visual upgrades that signal craft.
But foil printing has unique file requirements that trip up designers and small business owners constantly. Here's exactly what your file needs to produce clean foil results.
The three types of foil printing
Worth understanding upfront because each has slightly different file rules.
Hot foil stamping is the traditional method. A heated metal die presses metallic foil onto the paper, transferring the foil where heat and pressure are applied. The result is sharp, textured, and the most premium-feeling. Used on high-end business cards, invitations, and luxury packaging.
Cold foil uses a UV adhesive printed first, then foil is rolled over it and cured. The foil sticks where the adhesive is, gets peeled away from where it isn't. Faster and cheaper than hot foil, used for higher-volume commercial work.
Digital foil (sometimes called "digital metallic" or systems like Scodix and Konica Minolta MGI) prints metallic toner or applies foil to digital prints. Most accessible for small runs, but the finish is slightly different — less of the deep luster of hot foil.
The file requirements share a common foundation but differ in the details.
What "foil-ready" actually means in your file
A foil printing job needs your file to clearly identify two things:
- The base design (what gets printed in normal ink)
- The foil layer (what gets foiled)
These must be separate. The foil press needs to know exactly where to apply foil and where to leave the paper as printed. A flattened file where everything is merged makes this impossible.
Conventional file structure:
- Base printing on its own layer (CMYK or Pantone)
- Foil elements on a separate layer named "Foil" or with a specific spot color (often called "Foil," "Gold," "Silver," or sometimes "Spot 1")
- Each foil color on its own layer if multiple foils are used
If your design has two different foil colors (gold + silver, for example), each needs its own die or run. The file needs to separate them clearly.
File requirements
Vector source. Foil requires very precise edges. Vector files produce the cleanest dies. Raster files convert to vector at the prepress stage, often badly. Always send vector for any foiled elements.
If your foil element is a logo and you only have a raster version, convert to vector first. ArtworkUpgrade handles this — upload raster, get back SVG, PDF, EPS, AI, or DXF with a free preview.
Outline all text in the foil layer. Live fonts can substitute. Outlined text is locked in.
Minimum stroke width respected. Foil has minimum detail size — typically 0.5 point or thicker for hot foil, similar for cold foil. Lines below this break up or don't transfer cleanly. Avoid hairlines in foil designs.
No gradients in foil. Foil is opaque, single-tone metallic. Gradients can't be reproduced in traditional foil work. Some digital foil systems can simulate gradients, but expect approximation rather than smooth blending.
Spot color naming convention. Most print shops use specific spot color names for foil layers. Common conventions:
- "Foil" (generic)
- "Gold Foil" / "Silver Foil" / "Copper Foil"
- "Spot 1" / "Spot 2" (numbered for multiple foils)
- "PMS [number]" if matching a specific Pantone metallic
Confirm the naming convention with your print shop before submitting.
Knockout when foil overlaps base print. If your foil sits on top of a printed area, that printed area underneath usually needs to be knocked out (left blank) where the foil will go. Foil over CMYK can produce strange visual effects. Most print shops handle this in prepress, but cleanly built files speed things up.
Common foil file failures
Failure 1: Foil and base print on the same layer.
The print shop can't separate which elements are foil versus base print. They'll come back asking for a corrected file. Build layers cleanly from the start.
Failure 2: Detail too fine for foil.
Foil dies physically press into paper. Very thin lines or detailed serifs (like the curves in italicized serif fonts) often don't transfer well. Test ahead of time or simplify the design for foil.
Failure 3: Foil over a heavy ink coverage area.
Hot foil on top of a thick ink lay-down can have adhesion problems — the foil might not stick to wet or partially-dry ink. Cold foil and digital foil are more forgiving here, but knockout is still the safer practice.
Failure 4: Foil too close to the trim line.
Foil dies have slight registration variance. If your foil element sits 0.5mm from the trim, it might get clipped during cutting. Leave at least 3-5mm safety area between foiled elements and the trim line.
Failure 5: Misspecified foil color.
"Use my brand's gold" is not a spec. There are dozens of gold foils — yellow gold, rose gold, champagne, brushed gold, brilliant gold, antique gold. Each has a Pantone metallic number or a foil manufacturer code (e.g., Kurz, API, Foilco). Specify by code or send a physical foil sample for matching.
Foil over print vs foil only
A few common foil applications:
Foil only (no base print on the same area): The foil sits directly on the paper. Cleanest result, simplest file structure. Common for monogram cards, simple wedding invites.
Foil over a printed area (with knockout): The foiled element sits on top of a colored base. The colored base is knocked out where the foil goes. The visual effect is a foiled shape on a colored background.
Foil over a printed background (no knockout): Less common, sometimes used for effect. The foil sits over a printed area without a knockout. Can produce muddier results, but sometimes the desired effect.
Discuss the intended look with your print shop and they'll tell you which file structure to use.
Specifying foil colors
The big foil manufacturers — Kurz, API Foils, Foilco, Crown — each have their own catalog of foil colors. Print shops typically stock a range of common foils and can order specials.
When specifying a foil:
- Pantone Metallic number (e.g., Pantone 871 C for warm gold)
- Manufacturer + code (e.g., "Kurz LM Gold 220")
- Visual reference (a physical sample of the foil you want)
- Brand spec (if your brand standards document lists a foil code)
The print shop will tell you what's in stock and what's special-order.
Premium printing context
Foil printing is part of a broader family of premium printing techniques — embossing, debossing, spot UV, edge painting, letterpress. These finishes share similar file logic: a separate layer or spot color for each finishing technique, with the print layer underneath.
If you're producing premium business cards or packaging, expect to manage multiple specialty layers in one file. Each gets its own spec sheet for the print shop.
This is also why brand agencies are so insistent on having original open files — premium finishing requires file flexibility that flat exports can't provide.
Substrate considerations
Foil performs differently on different paper stocks:
- Smooth, uncoated paper: Foil transfers cleanly, sharp edges
- Coated paper (gloss or matte): Excellent foil transfer, vivid metallic shine
- Textured paper: Foil can break up on heavy textures (linen, felt, cotton fibers)
- Recycled paper: Variable — depends on smoothness
- Dark paper: Foil shows up dramatically, very high-impact
For wedding invitations on textured cotton paper, expect slightly softer foil edges than on smooth bright white card stock. Discuss substrate with your print shop early.
When foil is the wrong choice
A few situations where foil isn't the right answer:
- Very small print runs (under 50 pieces): Setup costs make foil expensive per piece. Digital foil systems help, but the math is still steep at very low quantities.
- Designs with fine detail (small text, thin lines): Foil's minimum detail size rules out delicate elements.
- Budget-sensitive projects: Foil is a premium technique with premium pricing. Often the budget is better spent elsewhere (better paper, better photography) than on foil if cost is a hard constraint.
- Outdoor or weathered applications: Foil is for paper goods. It doesn't survive outdoor use, water exposure, or rough handling.
Cost discussion for printed work generally lives in the hidden cost of bad print files — premium finishes amplify the cost of any file errors.
Submitting files to a foil printer
Standard submission package for a foiled job:
- Print-ready file with foil layer separated (AI, EPS, or layered PDF)
- A flattened preview showing how the final should look
- Foil specification (Pantone metallic number, manufacturer code, or sample)
- Paper stock specification
- Quantity, size, finishing requirements (trim, fold, score, drilling if any)
For premium pieces with multiple finishes (foil + emboss + spot UV, for example), include a mockup showing all finishes labeled and a spec sheet for each.
For related print methods that affect file decisions, see inkjet vs offset printing — foil work is almost always combined with offset, not digital inkjet.
Foil pricing and cost expectations
Foil printing costs significantly more than standard printing, and understanding the cost structure helps decide whether foil is worth it for your job.
Setup costs:
- Hot foil die creation: $50 to $300 per die, one-time. Dies are reusable for repeat orders.
- Cold foil setup: $50 to $150 per design, one-time. Faster setup than hot foil.
- Digital foil: Often no separate setup cost since no physical die needed.
Per-piece costs:
- Hot foil stamping: Adds $0.50 to $3.00 per piece depending on foil area, paper, and run length
- Cold foil: Adds $0.30 to $1.50 per piece
- Digital foil: Adds $0.30 to $1.00 per piece
Volume sensitivity: Foil pricing is volume-sensitive. A 100-piece run might have setup costs that dominate the total. A 1,000-piece run amortizes the setup across many pieces, making per-piece foil costs more reasonable.
Multi-foil pricing: Each different foil color adds another setup and another pass through the press. A two-foil job costs significantly more than a one-foil job, not just double.
Specialty foils: Holographic, prismatic, or color-shifting foils carry premiums. Standard gold and silver are the cheapest. Specialty options can double the foil cost.
For a typical small business considering foil for business cards: 500 cards with single-color hot foil runs roughly $300 to $600 total (including base printing and foil), compared to $80 to $150 for the same cards without foil. The premium is significant but the visual upgrade is also significant.
If budget is tight and you want a premium look without full foil cost, alternatives include:
- Spot UV (high-gloss varnish on selected areas) — adds dimension and shine without metallic
- Letterpress (impression without foil) — adds tactile depth
- Edge painting (colored or metallic ink on card edges) — premium look at lower cost than full foil
The takeaway
Foil printing demands a vector source with the foil layer cleanly separated from the base print, foil colors specified precisely (Pantone metallic or manufacturer code), and respect for foil's minimum detail size. Build the file with foil as a dedicated layer or spot color from the start, watch your stroke widths, and discuss substrate and finish with the print shop before producing. Done right, foil produces results that read as premium at a glance. Done wrong, you get a reprint at a high price point.
Stop redrawing customer logos by hand
ArtworkUpgrade vectorizes any logo or design in 30 seconds. Free preview before you pay. $7 per design, all formats included.
Try free preview →More guides for Industry Guides
Cricut SVG vs DXF: which file format to use when cutting
SVG and DXF both work in Cricut Design Space but they're not interchangeable. Here's when to use each, the trade-offs, and how to convert from a raster.

Screen printing: how to prepare your file for crisp, clean prints
Screen printing demands color-separated vector files. Here's how to prep your file, spec colors, handle underbases, and avoid the separation fee.
How to vectorize a logo for embroidery: a practical guide
Embroidery digitizing software needs clean vector input. Here's how to get a logo embroidery-ready, what to do with bad customer files, and common failures.