How to clean up a low-resolution logo: a practical workflow
How to clean up a low-resolution logo
The logo file you have is small. Maybe 400 pixels wide. Maybe 800. It looks fine on your website and your business card, but the moment you try to use it anywhere else — a banner, a presentation, a packaging design, an embroidery order — it falls apart.
You can't add detail to a low-resolution file that wasn't there to begin with. But you can clean up what you have to a level that's usable for most applications. Here's the workflow.
Understand what you're starting with
Before you do anything, assess your file honestly.
Open the file in any image viewer. Note the dimensions in pixels. If it's under 500 pixels in the longer dimension, you're working with very limited material. 1,000 pixels gives you more room. 2,000+ pixels means you probably don't need this guide.
Zoom in to 200% or 400%. Check what you see:
- Jagged staircase edges = standard pixelation from upscaling
- Color noise or fuzzy halos around shapes = JPEG compression artifacts
- Slightly blurry edges that don't sharpen at zoom = the image was already soft when saved
- Block patterns in solid color areas = heavy compression or multiple resave cycles
Each of these has different fixes. Identifying them tells you what cleanup will actually help.
Note the file format. JPG, PNG, GIF, BMP — these are all raster formats with fixed resolution. The cleanup approach is similar for all of them.
If the file is small enough that even zoomed in you can't read the design clearly, no amount of cleanup will save it. You need a different source — covered later in this guide.
Step 1: Search for a better source first
Before spending any time on cleanup, check if a better version of your logo exists somewhere:
- Original designer's files. If a designer made your logo, they probably have a higher-resolution version. Email and ask.
- Old marketing materials. Brochures, business cards, banners — anything that was professionally printed had to be high-resolution at some point. The source files may still exist with whoever printed them.
- Your website's source files. Sometimes the website has a higher-resolution version than what you've been emailing around.
- Old cloud storage or hard drives. Files you forgot you had.
A higher-resolution source is always better than cleanup of a lower-resolution one. The full workflow for recovering original vector or high-res files covers where to look.
If a better source exists, use that. If not, proceed with cleanup.
Step 2: Identify the type of damage
Different problems need different fixes.
Type A: Just small. The image is at the resolution it was saved. No compression damage. It just isn't big enough for your current need. Fix: upscale carefully, or vectorize.
Type B: Compression damage. Visible JPEG artifacts around solid edges, especially type. The file has been through too many save cycles or was saved at too low a quality. Fix: clean up the artifacts, then upscale or vectorize.
Type C: Already blurry. Soft edges that don't sharpen on zoom suggest the image was upscaled at some point and saved. Fix: difficult — you're cleaning an already-cleaned file. Find a better source if possible.
Type D: Multi-damaged. Small AND compressed AND already upscaled. Fix: vectorize aggressively or find a better source.
For most small businesses, Type A or B is what you're dealing with.
Step 3: Clean up compression artifacts (Type B)
If your file shows compression damage:
In Photoshop:
- Open the file. Duplicate the layer (Ctrl/Cmd + J).
- Filter → Noise → Reduce Noise. Settings: Strength 5-7, Preserve Details 30-40%, Sharpen Details 0%.
- Apply. Check the result.
- If still noisy, add a slight Gaussian Blur (Filter → Blur → Gaussian Blur, 0.5-1 pixel radius).
- Then sharpen (Filter → Sharpen → Smart Sharpen, Amount 100%, Radius 0.5px).
In Photopea (free, browser-based):
Same workflow as Photoshop. Photopea mirrors Photoshop's interface and tools.
In GIMP (free):
- Filters → Enhance → NL Means (or Selective Gaussian Blur).
- Filters → Enhance → Sharpen (Unsharp Mask).
The result won't be perfect, but the worst compression artifacts should be reduced.
Step 4: Upscale with AI tools (Type A or B after cleanup)
Once compression artifacts are reduced, you can upscale the image to a usable size. Several AI upscalers handle this well:
- Topaz Gigapixel AI (paid, desktop)
- Adobe Photoshop's Super Resolution (Camera RAW filter)
- Online upscalers (Upscale.media, Letsenhance.io, Bigjpg)
For a typical 800-pixel logo, upscaling to 3,000-4,000 pixels gives you something usable for most printing.
A few important caveats:
- AI upscaling can introduce artifacts of its own (overly smoothed edges, false details, color shifts)
- The result is still raster — pixels, not paths. It can't print at unlimited size.
- For very low source quality, even AI upscaling can't recover what wasn't there. The output will be cleaner but the design will still look approximated.
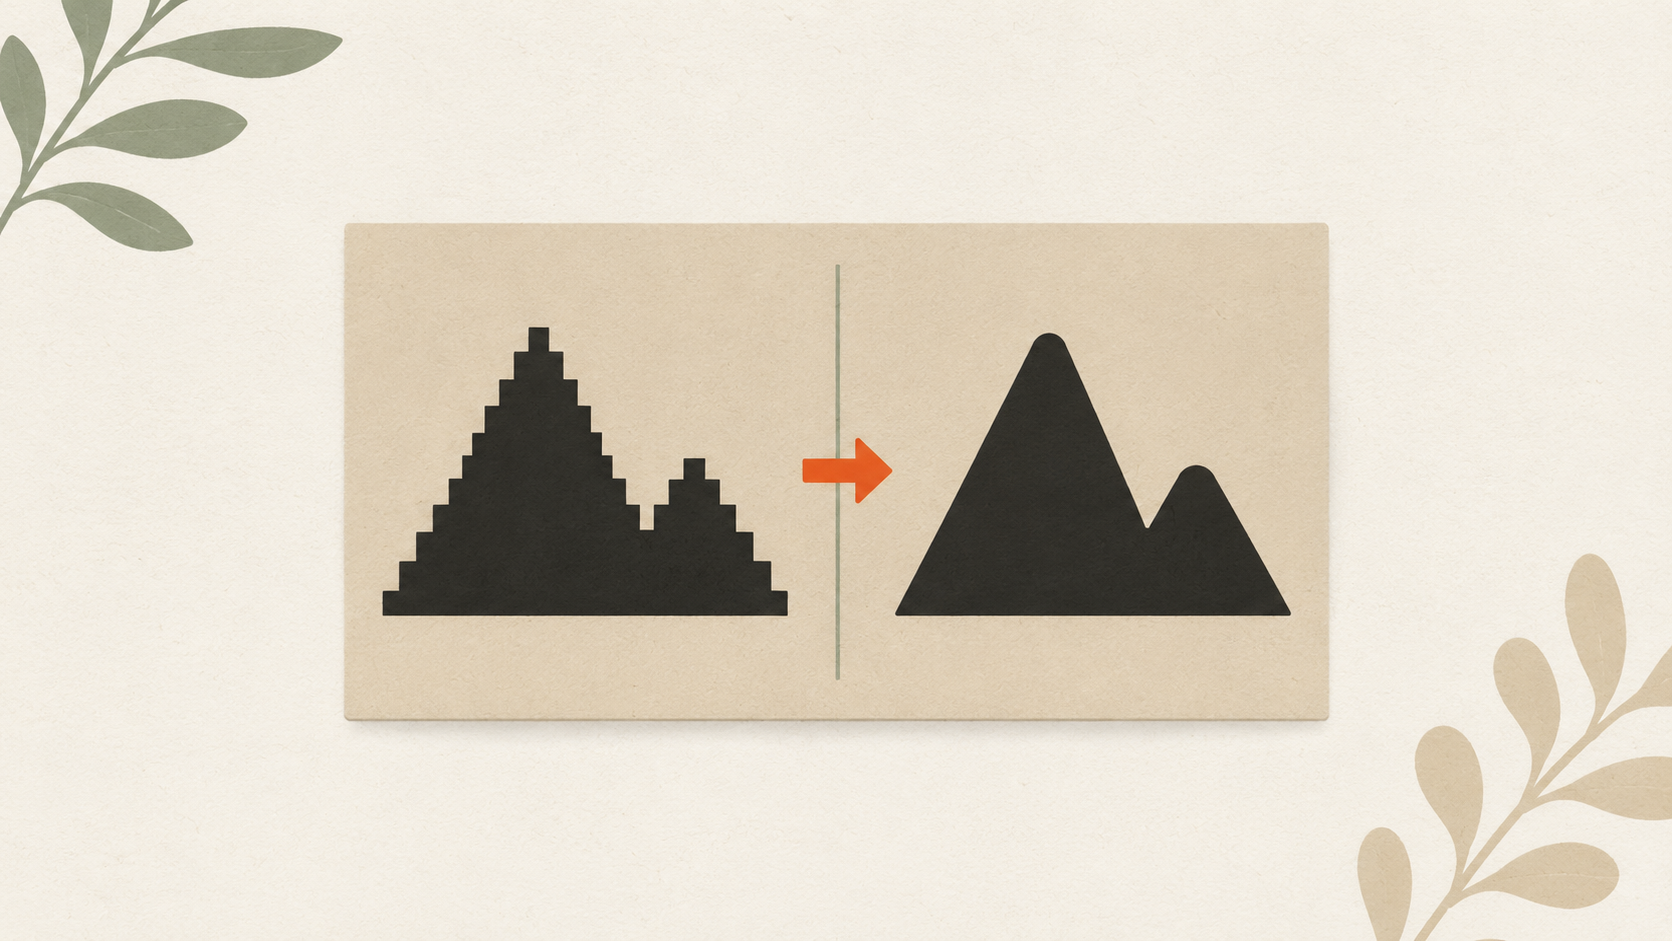
Step 5: Vectorize for unlimited scaling
The real fix for a low-resolution logo isn't cleanup — it's vectorization. Once your logo is a vector file, the resolution problem disappears. Vectors scale to any size without losing quality.
The full workflow for converting your raster logo to vector covers methods in detail. Quick summary:
- AI vectorization tools like ArtworkUpgrade handle the conversion automatically. Upload, preview, download SVG/PDF/EPS/AI/DXF. Free preview before paying.
- Manual tracing in Illustrator or Inkscape — more control, more time.
- Designer redraws — highest quality, highest cost.
For most small businesses, AI vectorization solves the low-resolution problem permanently. The vector file works for every future printing need.
Step 6: Test at output size
Whatever cleanup or vectorization you do, test the result at the size you actually need before committing to a print job:
- For printing: Print a test page at the actual output size and look at it from normal viewing distance
- For display: View the file on a screen at the actual size it'll appear
- For embroidery: Check the design at the embroidery size and look for elements that will lose detail at that scale
If the test looks rough, the production will look rougher. Cleanup and vectorization improve things, but they can't add information that wasn't in the source.
Common cleanup mistakes
Over-sharpening. Too much sharpening introduces halos around edges and amplifies noise. A subtle sharpen is better than an aggressive one.
Blurring everything to hide noise. A blurry logo is still bad. Better to accept some noise than to soften the entire design.
Using "AI enhancement" without verifying. Some AI tools "enhance" images by adding false details — invented patterns, faces where none existed, fake textures. Always check the output against the original. If something new appeared, it's not real.
Saving back as JPG after cleanup. Compounds the damage with another round of compression. Save cleanup work as PNG or TIFF to preserve quality. Only export to JPG at the very end.
Vectorizing aggressively at the wrong settings. A vector trace with too few colors loses detail; too many colors creates a mess. Adjust trace settings to match your logo's complexity.
When cleanup isn't enough
Some logos can't be cleaned up to a usable state:
- Heavily downsampled images (e.g., a 200-pixel-wide logo)
- Logos that started as screenshots of other screens (multi-generation quality loss)
- Photographic elements within the logo that can't be vectorized
- Files damaged beyond recognition (corrupt files, JPEG-of-JPEG-of-JPEG)
For these:
- Find the original designer or design source
- Have a designer redraw the logo from whatever reference you have
- Accept that the logo may need refreshing as part of a brand update
A logo that looks blurry when printed on apparel is usually a low-resolution problem that cleanup can address. A logo where the source file is gone entirely is a recovery problem that cleanup can't solve.
How to prevent this from happening again
Once you've gone through the work of cleaning up a low-resolution logo, take steps to avoid being in this situation in the future:
Store the cleaned and vectorized versions properly. A brand assets folder in cloud storage, with the vector file, raster exports at multiple sizes, and color references. Share with anyone in your business who orders printing.
Never edit and resave a JPG. Each save cycle compresses again. Always work from the source vector and export to JPG fresh.
Save raster exports at multiple sizes. When you create a JPG for web use, also export at 2x and 3x resolution for retina displays and larger applications.
Ask new designers for proper file deliverables. Vector source files (AI, EPS, SVG) plus rasters at common sizes. Build this into design contracts upfront.
Audit existing brand assets quarterly. Find files that need conversion before someone needs them urgently for a print job.
A few hours of file organization saves weeks of crisis vectorization later.
The takeaway
Cleaning up a low-resolution logo is about reducing damage, not adding detail. Find a better source if you can. Clean up compression artifacts. Upscale carefully. The real long-term fix is vectorization — once your logo is vector, the resolution problem disappears permanently. Get the conversion done once and your logo is ready for any future printing, sign making, or embroidery work.
Stop redrawing customer logos by hand
ArtworkUpgrade vectorizes any logo or design in 30 seconds. Free preview before you pay. $7 per design, all formats included.
Try free preview →More guides for How-To Tutorials
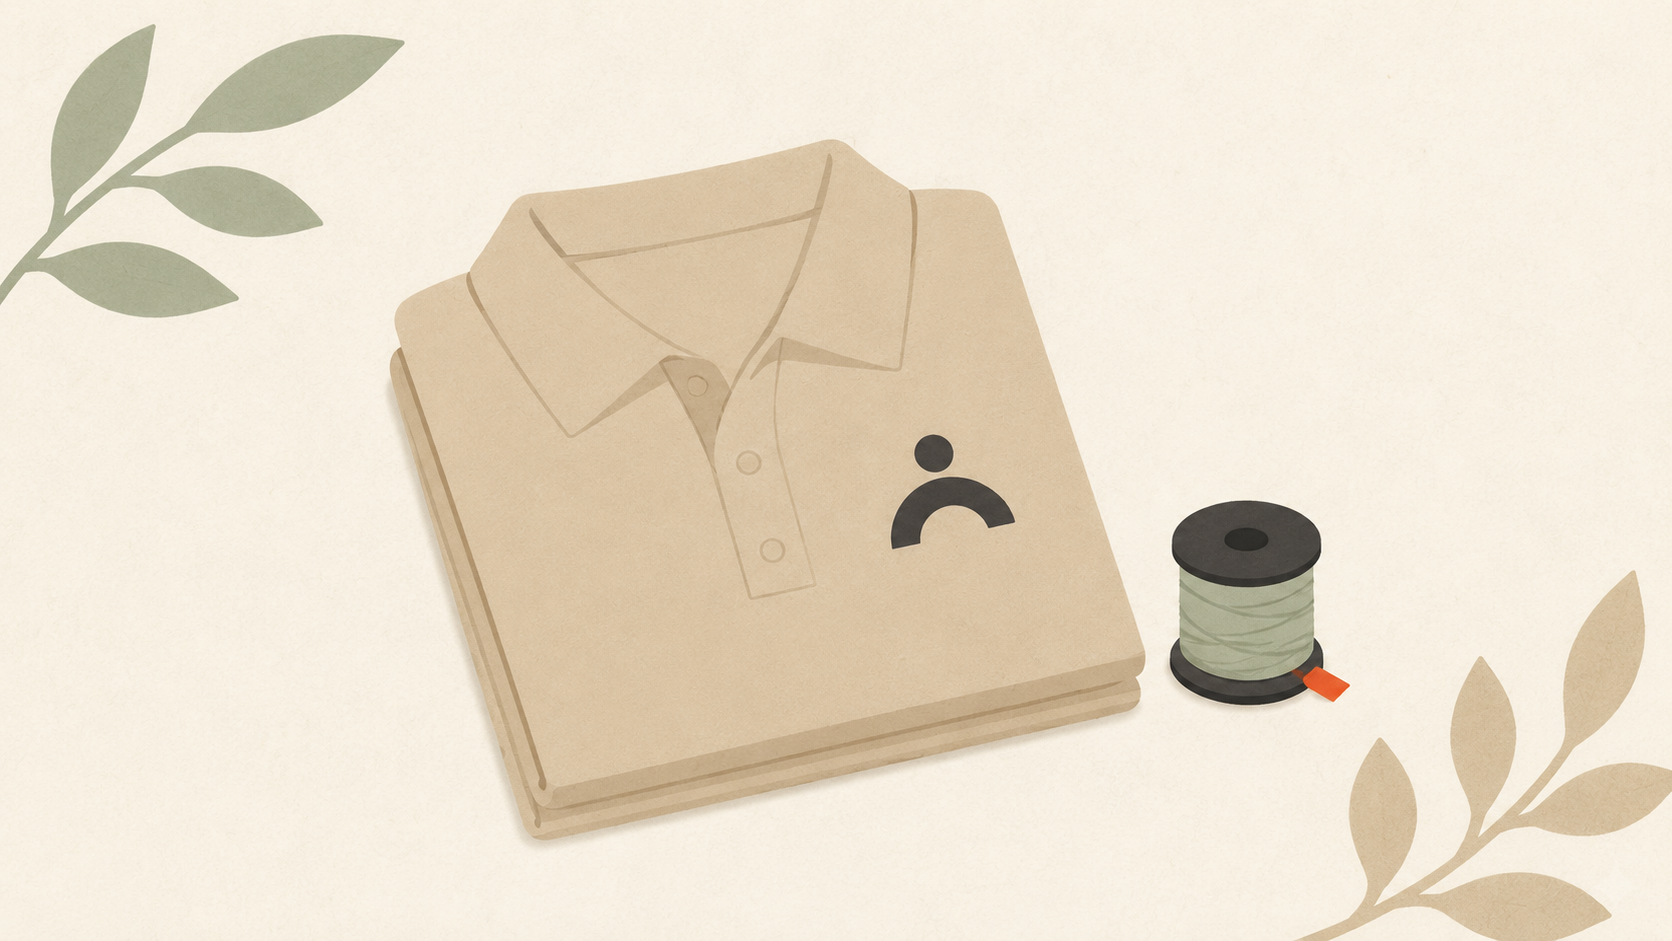
How to prepare your logo for an embroidery order: a checklist
What to send your embroiderer to get the best result: vector file formats, size and placement specs, color references, and how to handle it when you don't have vector files.
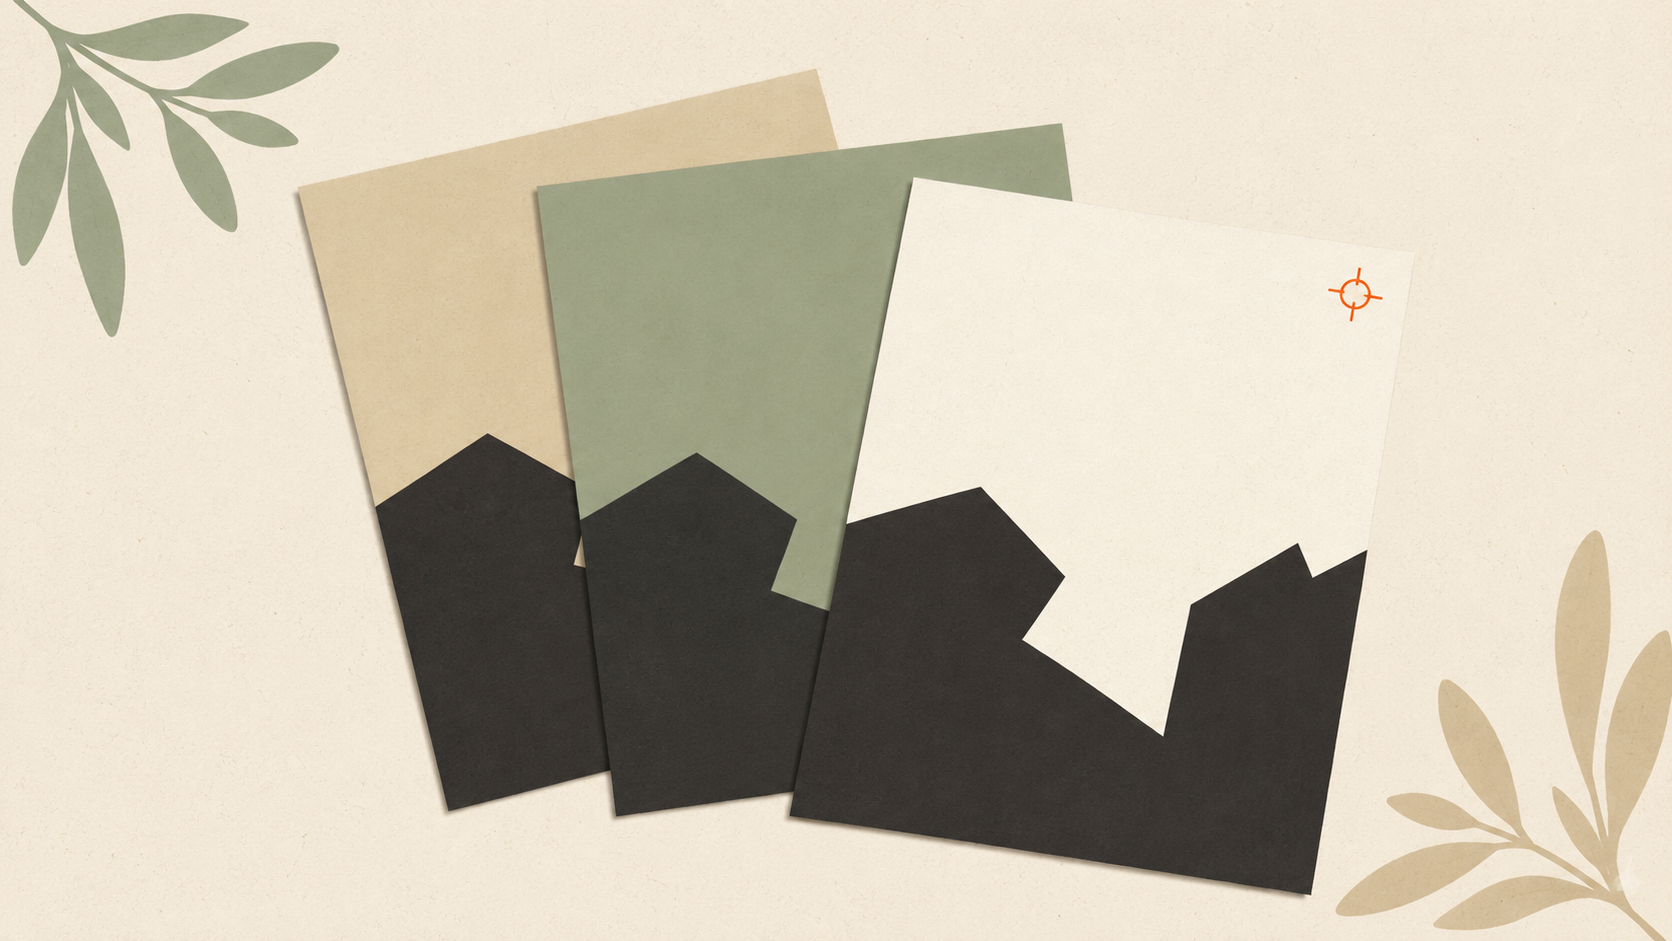
How to prepare a logo for screen printing: the customer guide
Step-by-step file preparation for screen printing: vector format, color separation, outlined text, Pantone references, line weights, and what to send the shop.
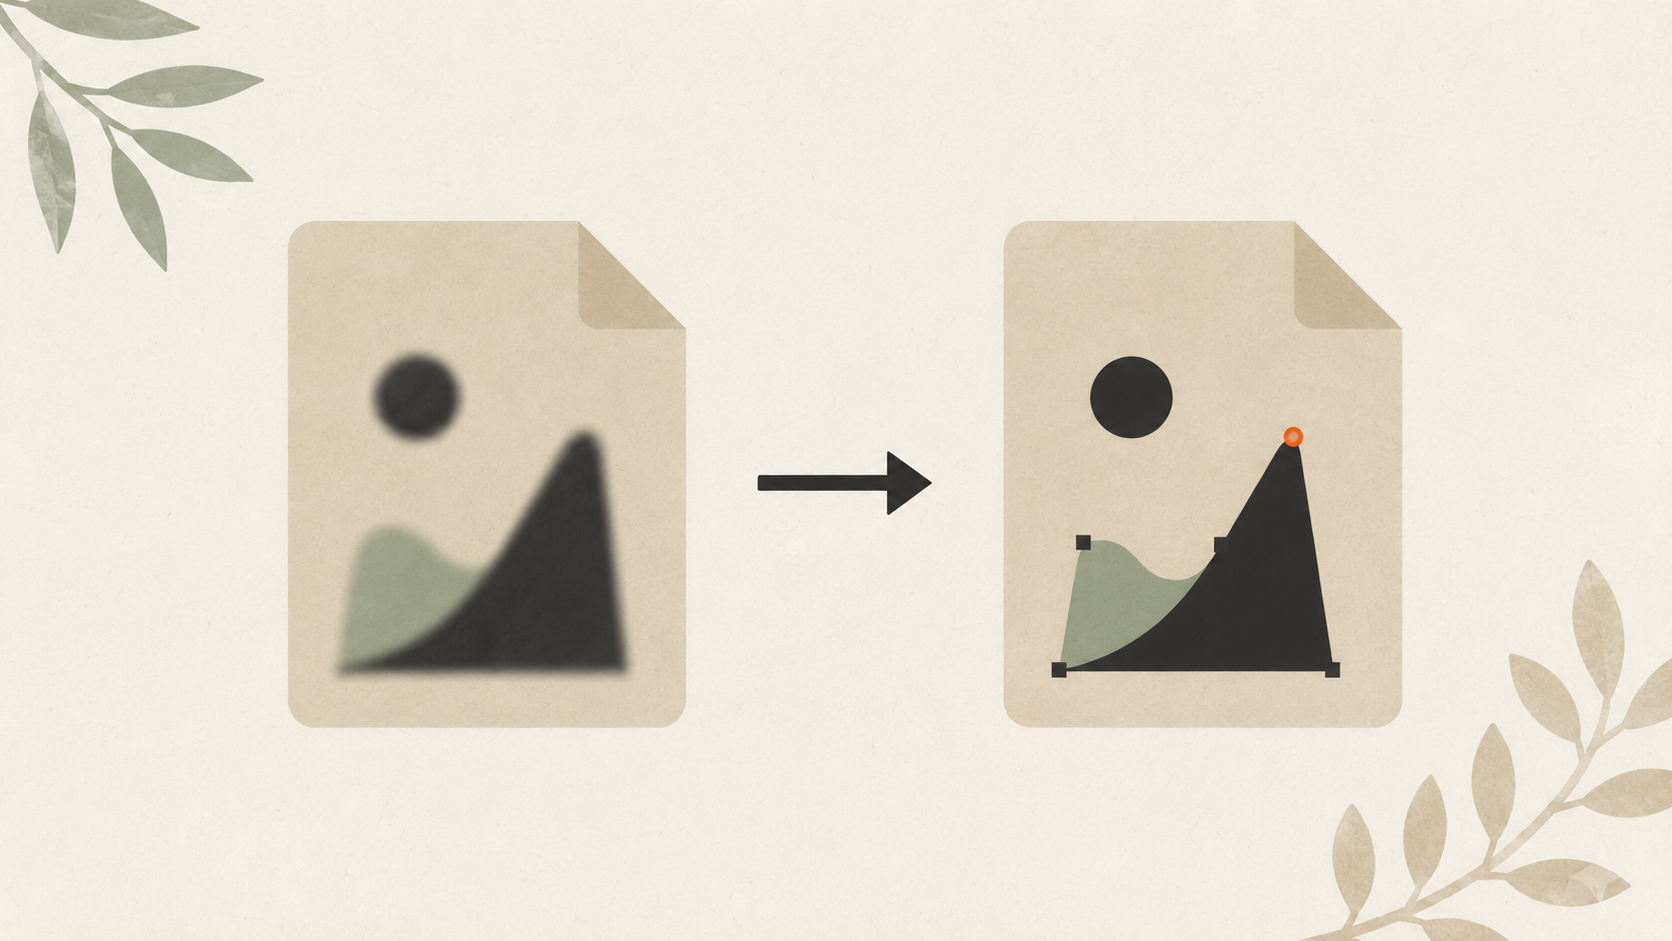
How to convert a JPG logo to vector: 4 practical methods
Four real ways to get from JPG to vector: AI vectorization, manual tracing, hiring a designer, finding original files. Costs, time, and which method fits your job.