How to prepare your logo for an embroidery order: a checklist
How to prepare your logo for an embroidery order
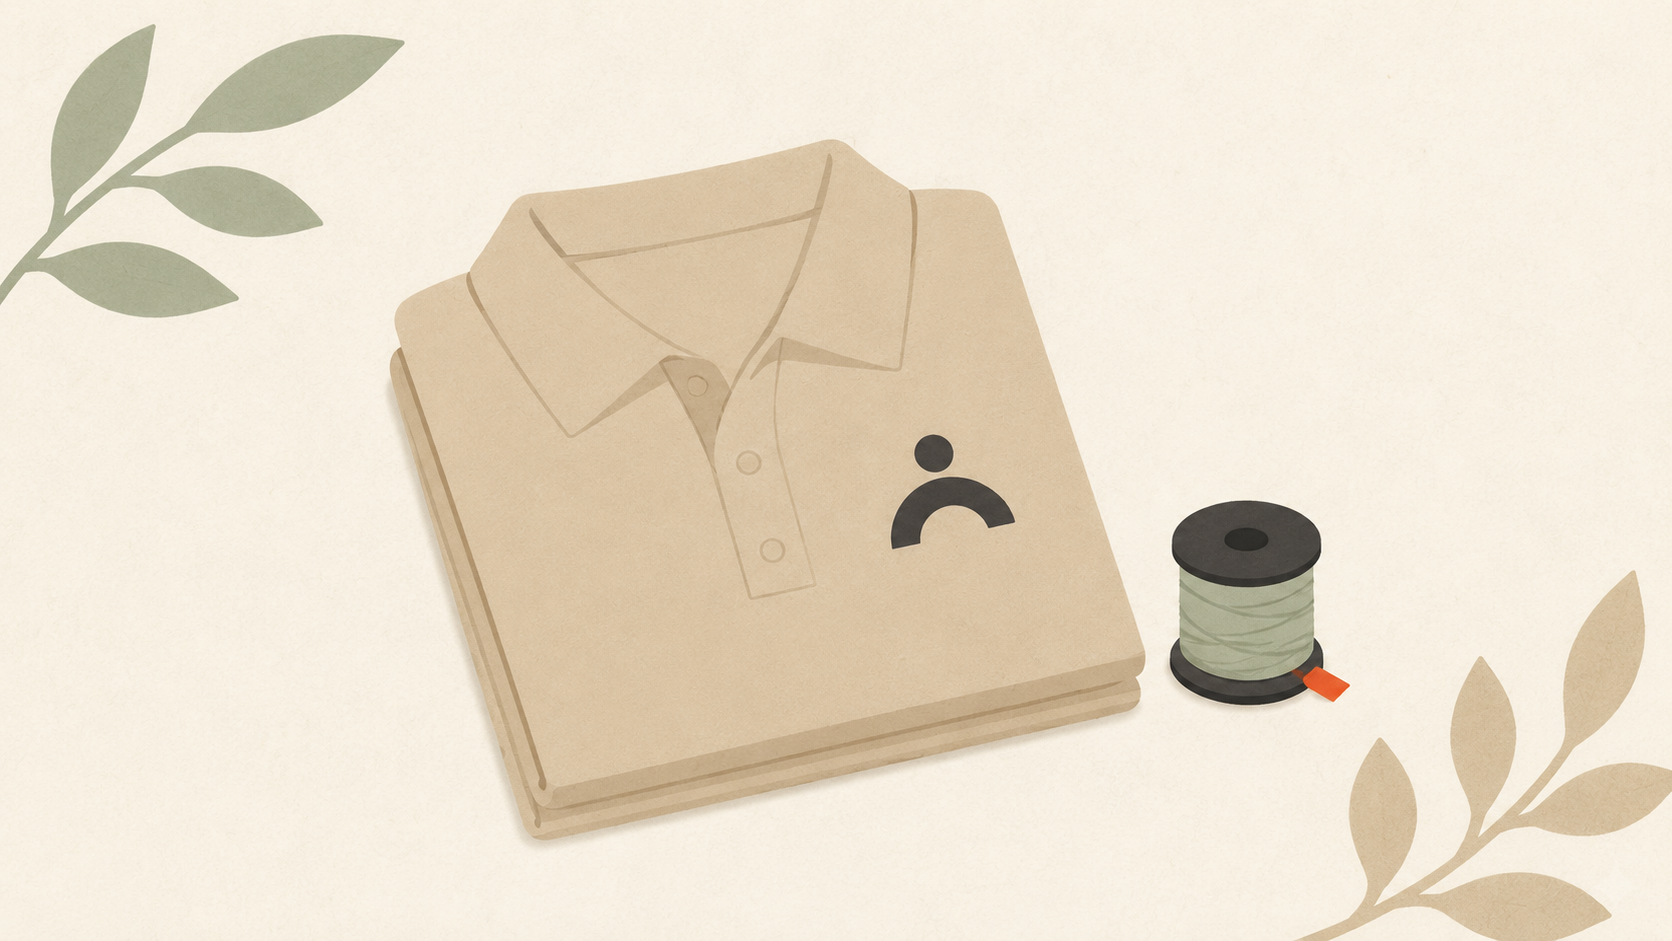
You're ordering embroidered polos for your team. Or hats for a giveaway. Or patches for a uniform program. The embroiderer asked for your logo. You forwarded the JPG from your website.
A week later, the proof comes back and the logo looks slightly off. Slight wobble on the curves. A thin element of the design is missing. The blue is the wrong blue.
This is the most common embroidery quality complaint, and it's preventable. The logo file you send determines the embroidery you get. Here's how to prepare a logo so the embroiderer can do their best work.
What "preparation" actually means
The embroidery shop doesn't put your file directly on the machine. They send it to a digitizer (a person or software) who converts your logo into a stitch file — instructions the embroidery machine can follow.
Good preparation gives the digitizer clean input. Bad preparation forces the digitizer to guess, redraw, or simplify in ways that compromise the result.
For shops that handle this in-house, the prep work happens automatically. For shops that don't have a dedicated digitizing setup, your file goes straight to an external digitizer who has to work with what you sent. Either way, what you send matters.
The file format checklist
Send your embroiderer one of these formats:
- AI (Adobe Illustrator) — preferred when available
- EPS — universally accepted, very stable
- SVG — accepted by most modern digitizers
- Vector PDF — works if it's true vector inside
Avoid sending:
- JPG — pixels at the edges, lossy compression, no transparency
- PNG — works only as a backup, not as a primary file
- Screenshot — almost always too low-resolution
- Word document or PowerPoint — opens, doesn't translate to embroidery
If you don't have any of the preferred formats, you have two options: find them or create them. Both are addressed below.
Step 1: Check your files
Look through everything you have for your logo:
- Email attachments from your original designer
- Cloud storage folders (Google Drive, Dropbox, OneDrive)
- Old hard drives or USB sticks
- Files from past printing jobs
Anything ending in .ai, .eps, .svg, or .pdf is worth a closer look. Open the PDF specifically and test if you can select individual elements — if so, it's a vector PDF and works for embroidery.
About a third of small businesses find their original vector files when they actually search. Most have just forgotten where they put them.
Step 2: If you find vector files, send them
Forward the files to your embroiderer with these details in the email:
- Final embroidery size (in inches or mm — "2 inch chest" or "10cm wide")
- Placement (left chest, right chest, full back, sleeve, hat front)
- Garment color (affects underlay and density decisions)
- Garment fabric (cotton, poly, fleece — affects how the embroiderer sets up)
- Color references (Pantone numbers if you have them; thread brand and color number if you don't)
- Quantity (helps the embroiderer quote setup vs production costs)
A few of these are missing on most orders. The shop has to ask, which slows down quoting and production.
Step 3: If you don't find vector files
You have two paths.
Path A: Convert what you have.
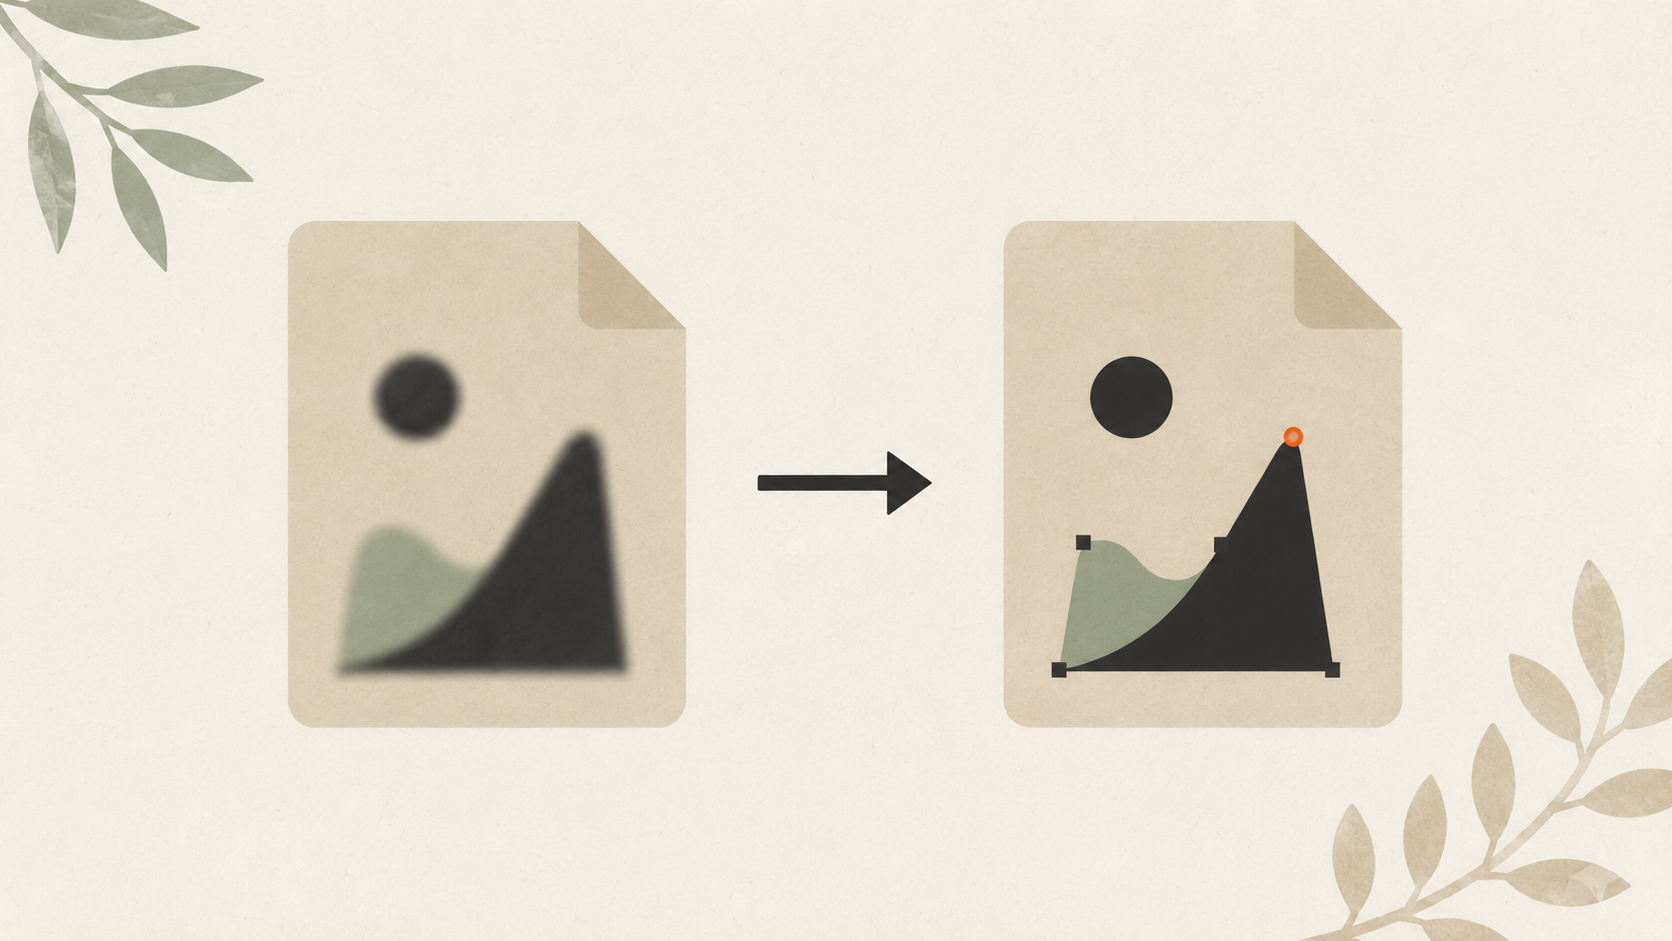
Take the best raster version of your logo — the highest-resolution PNG, JPG, or PDF you have — and convert it to vector. ArtworkUpgrade handles this conversion in a single upload, with output formats including AI, EPS, SVG, PDF, and DXF. You see a preview before paying so you can verify the trace looks clean enough for embroidery.
For most small business logos, this gives you usable vector files in minutes. The cost is significantly less than hiring a designer to redraw.
The general workflow for converting a JPG logo to vector applies directly — the same steps work for embroidery prep.
Path B: Hire a designer to redraw.
If your raster source is too degraded to convert cleanly (low resolution, heavy compression, photographic elements), a designer can rebuild your logo in vector software from scratch. Costs more, takes longer, but produces pristine results.
For high-stakes embroidery (large recurring orders, premium customers, brand-critical applications), this is worth the investment. For typical small business orders, conversion is usually enough.
Step 4: Simplify the file for embroidery
Even a clean vector might need simplification specifically for embroidery. Here's what to look for and adjust:
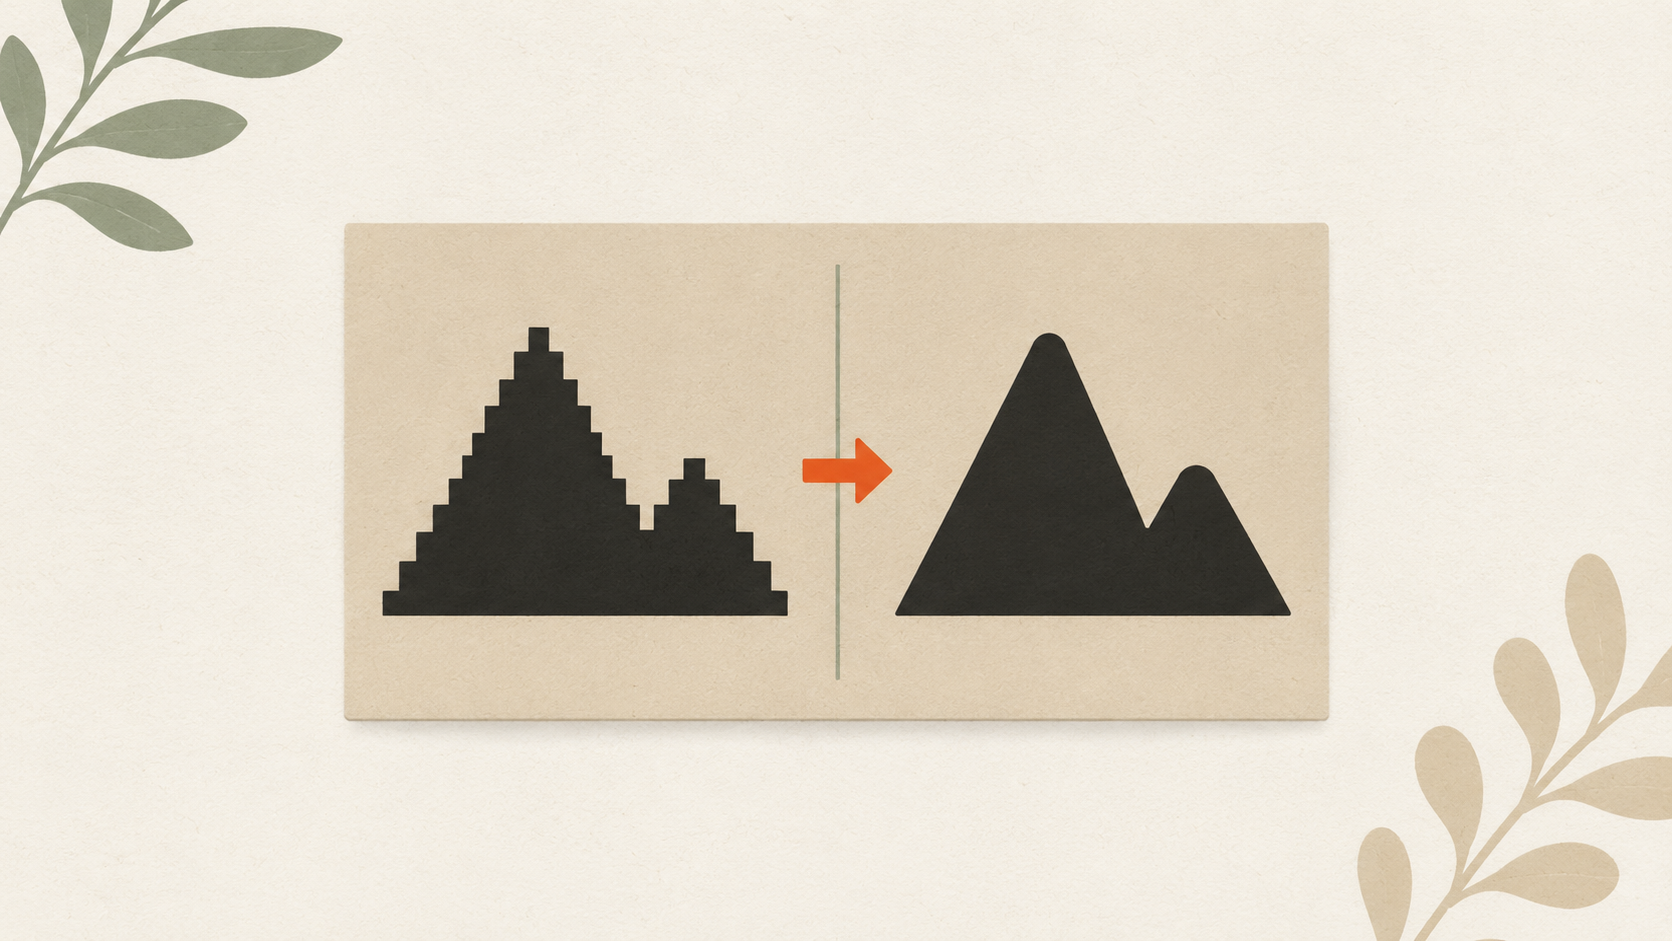
Color count. Each color in your logo becomes a thread color the machine has to load. More colors mean more setup time and higher cost per piece. If your logo has six colors, consider whether four would work.
Thin lines and small details. Anything thinner than about 1mm at the final embroidered size won't reproduce cleanly. Beef up thin elements or simplify them.
Tiny text. Letters smaller than about 4mm tall become illegible when embroidered. Either drop the small text or scale it up.
Gradients and photo elements. Embroidery uses solid thread colors. Gradients have to be approximated with blended fills, which usually look muddy. If your logo has gradients, decide whether to simplify to flat colors or accept the approximation.
You can do this simplification yourself in vector software, or note these elements in your email and let the digitizer suggest changes.
Step 5: Choose your colors
Most embroidery shops match thread by eye or by Pantone. If your brand has specific colors, give the embroiderer the exact specifications:
- Pantone numbers are the most universal reference
- Thread brand codes are even more direct ("Madeira 1043" or "Robison-Anton 5520")
- Hex codes or RGB values as a fallback, though these convert imprecisely to thread
If you don't know your brand colors, send a printed sample of your logo at the right colors and tell the embroiderer "match this." Most shops keep a thread color book and can match physical samples.
Step 6: Confirm size and placement before approving
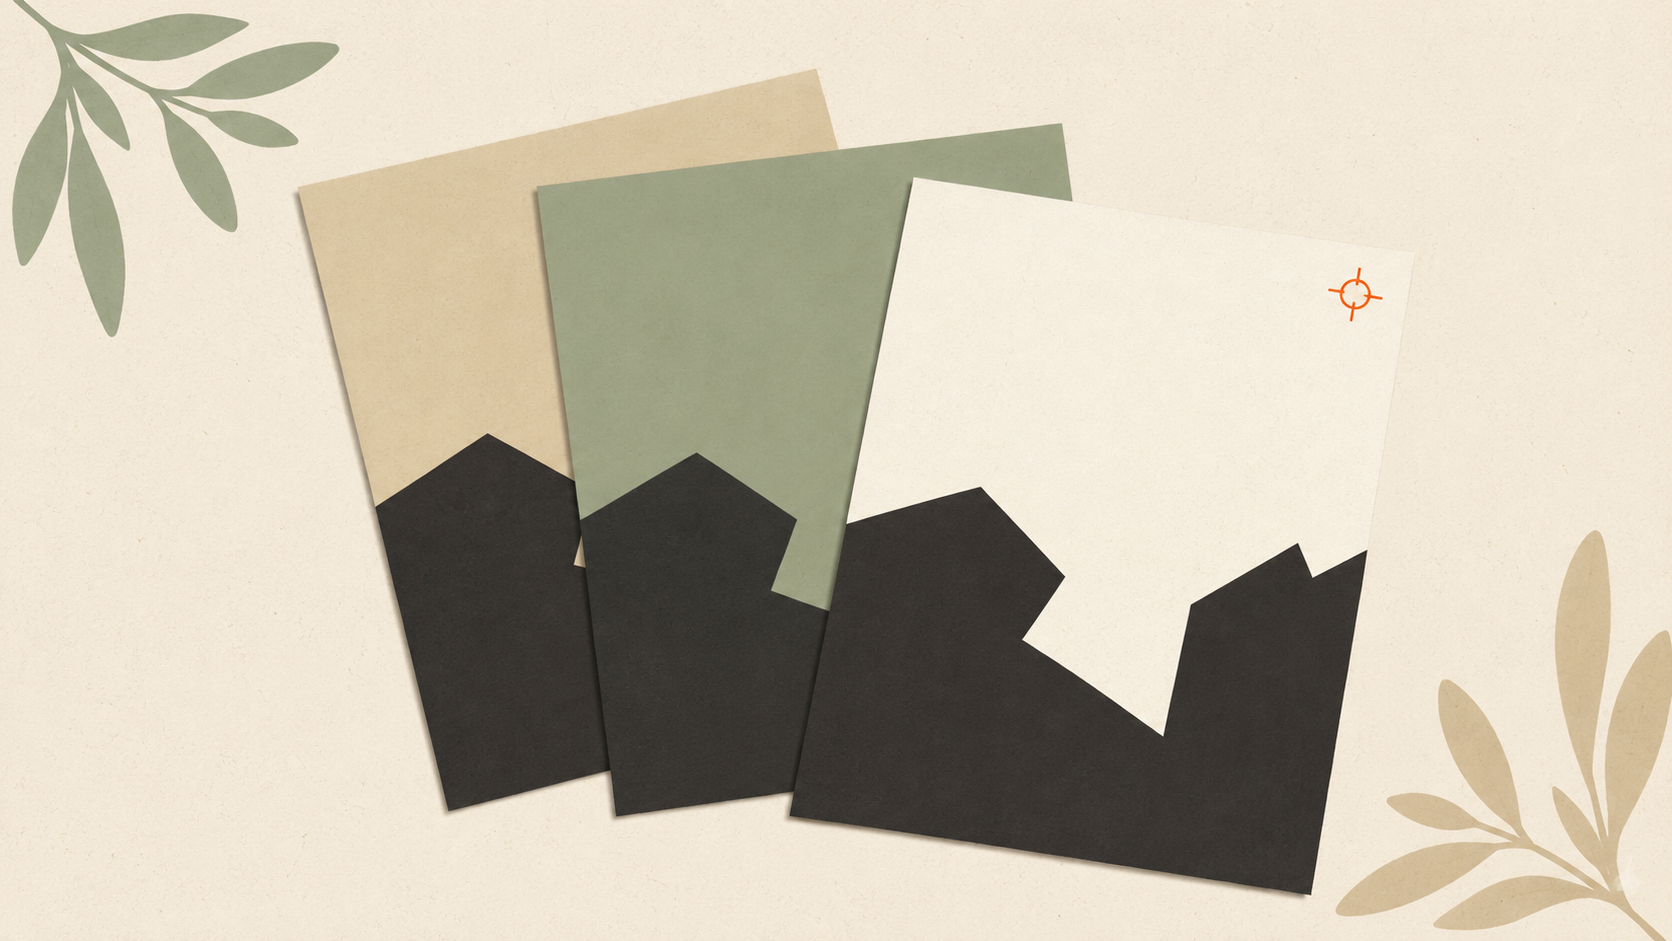
When the embroiderer sends a proof or stitch preview, check:
- Readability at actual size. Hold the proof at arm's length. If the logo isn't recognizable, the embroidery won't be either.
- Color accuracy. Compare against your brand reference.
- Detail preservation. Are all the elements you wanted present?
- Stitching density. Some embroiderers default to high density that creates stiff, heavy prints. If the proof looks heavy, ask about reducing density.
Don't approve a proof you're not happy with. Changes after approval can mean redo costs or accepting the embroidery as delivered.
Common embroidery file mistakes from small businesses
Sending the JPG from the website. Default behavior. Almost always wrong.
Sending a low-resolution PNG. Better than JPG but still raster. Embroiderer has to vectorize anyway.
Sending a screenshot of the logo. Compressed twice, lowest possible quality, often missing parts. Embroiderer will ask for something better.
Forgetting to specify size and placement. Forces the embroiderer to guess or ask. Slows down the job.
Asking for embroidery of a logo that wasn't designed for it. Photographic elements, fine gradients, very thin elements. Some logos just don't embroider well. A good embroiderer will tell you upfront if your design will struggle.
Not having a clear color reference. "Use the colors from my website" is harder than "use Pantone 286 and Pantone 7625."
What good embroidery prep looks like
For an embroidery order, your perfect outreach to the shop:
"Hi — I'd like to order [quantity] embroidered [garment type] in [color]. Logo placement is [position], final embroidered size [size]. I've attached the logo file as AI/EPS/SVG. Brand colors are [Pantone X, Pantone Y]. I'm flexible on stitch density — please let me know if any details of the logo need to be simplified for embroidery. Quote and timeline appreciated."
Most embroiderers will quote within a day on a well-prepared request. The job runs cleanly because everything they need is upfront.
What to do when the embroidery proof comes back
The embroidery proof is your last chance to catch problems before production. Things to verify on a digitized proof or stitch preview:
Recognizability at actual size. Hold the proof at arm's length. If you can't recognize your own logo, the finished embroidery won't read either.
Color accuracy. Compare each color to your brand reference. Some shift is normal in thread vs digital, but a yellow that's printing as orange is a problem.
Detail preservation. Are all the elements you wanted present? Did the digitizer drop or simplify anything? If so, do you accept it?
Stitch density. Heavy density looks bold but makes garments stiff and uncomfortable. If the proof looks dense, ask if it can be reduced.
Underlay coverage. For embroidery on dark fabric, ask if the digitizer added underlay (a base layer of stitches). Without it, dark fabric shows through.
Approve only when you're satisfied. Changes after approval can mean redo costs or accepting the embroidery as delivered.
The takeaway
Embroidery quality depends on what you send. Vector files (AI, EPS, SVG, vector PDF) give the digitizer clean input to work from. Specify size, placement, colors, and garment details upfront. If you don't have vector files, convert what you have or hire a designer to remake them. Get this right once and every future embroidery order goes smoother.
Stop redrawing customer logos by hand
ArtworkUpgrade vectorizes any logo or design in 30 seconds. Free preview before you pay. $7 per design, all formats included.
Try free preview →More guides for How-To Tutorials
How to clean up a low-resolution logo: a practical workflow
Step-by-step guide to salvaging a low-resolution logo: assess the damage, reduce compression artifacts, upscale carefully, and vectorize for the permanent fix.
How to prepare a logo for screen printing: the customer guide
Step-by-step file preparation for screen printing: vector format, color separation, outlined text, Pantone references, line weights, and what to send the shop.
How to convert a JPG logo to vector: 4 practical methods
Four real ways to get from JPG to vector: AI vectorization, manual tracing, hiring a designer, finding original files. Costs, time, and which method fits your job.