How to convert a JPG logo to vector: 4 practical methods
How to convert a JPG logo to vector
You have a JPG of your logo. A printer asked for vector. Or a sign shop. Or an embroiderer. Or all three. The JPG you've been using for years suddenly isn't enough.
Here's the full workflow for converting a JPG to vector, with the methods that work, the ones that don't, and how to choose between them.
Why JPG can't replace vector
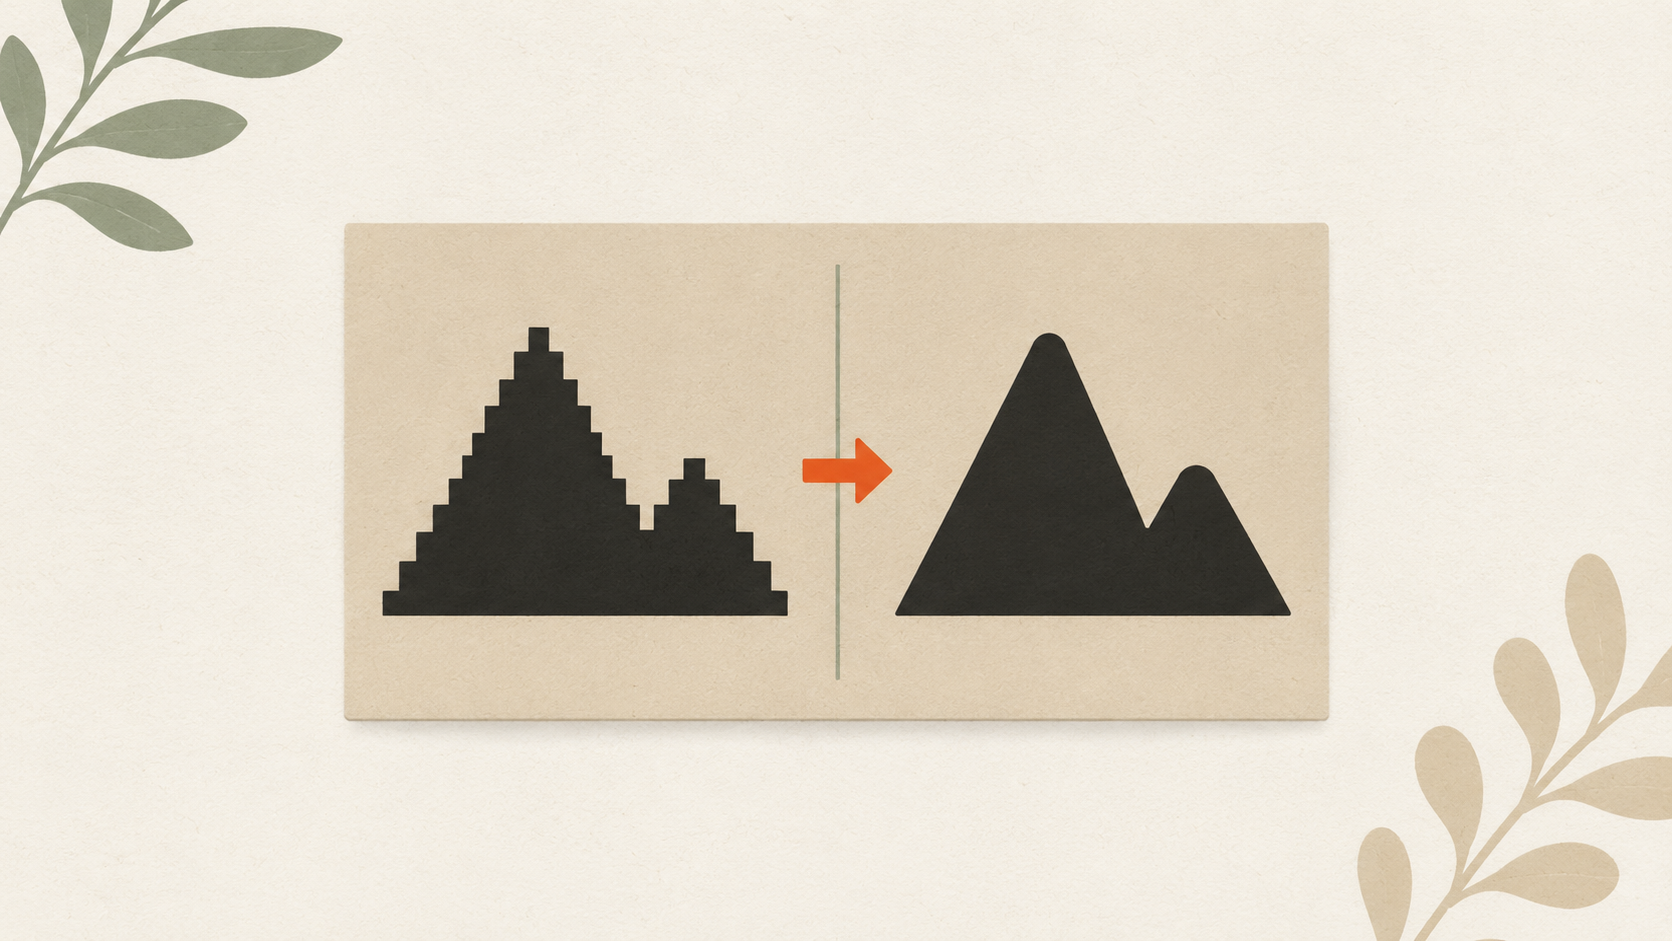
JPG is a raster format. It stores your logo as a grid of pixels at a fixed resolution. Try to print that logo bigger than its native size and you see pixelation, soft edges, and color noise around the type.
Vector formats (AI, EPS, SVG, PDF) store your logo as mathematical paths. No fixed resolution. Print at any size, get crisp edges every time.
For commercial printing, embroidery, sign making, vinyl cutting, and most professional applications, vector is required or strongly preferred. JPG works for digital display (websites, social media, email signatures). It falls apart everywhere else.
You can't make a JPG more vector-y. You have to convert.
The four real options
There are four practical paths from JPG to vector. Each has trade-offs.
- AI vectorization — automated, fast, low cost, good results on most logos
- Manual tracing in vector software — slower, free or low cost, total control
- Hire a designer to redraw — expensive, slow, best results
- Find the original vector files — free if they exist, fastest path when available
Most small businesses use options 1 or 4. Option 2 if you have the time and software. Option 3 for high-stakes work.
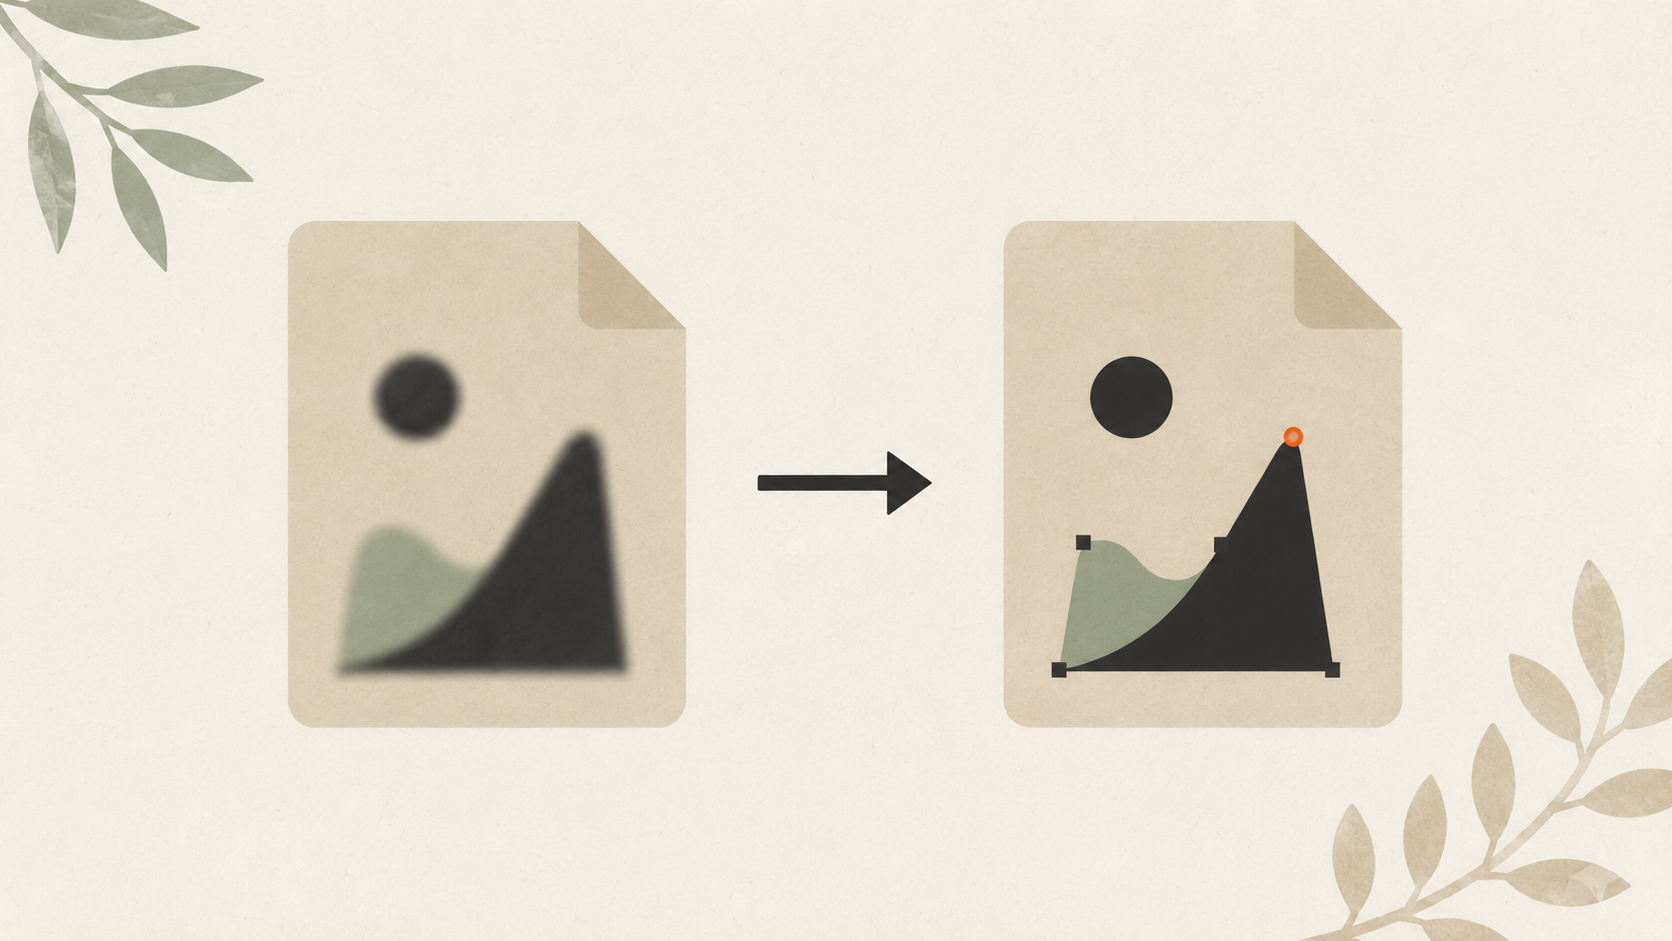
Option 1: AI vectorization (the practical default)
AI vectorization tools trace your JPG and produce vector output automatically. Modern tools handle clean logos in seconds and produce results good enough for most printing and embroidery jobs.
Step-by-step using ArtworkUpgrade:
- Open ArtworkUpgrade in your browser.
- Click "Upload" or drag your JPG into the upload zone.
- Wait for the conversion to process (typically very quick for standard logos).
- Review the preview. Use the before-and-after slider to compare your JPG with the vector trace.
- If the preview looks clean, click to download. You get SVG, PDF, EPS, AI, and DXF files in one package.
- If the preview needs adjustment, use the refine controls to clean up specific areas.
- Pay only when you're happy with the result.
What works: Fast. Affordable. Handles most logos well. Multiple output formats from a single upload. Free preview before paying.
What doesn't: Very low-resolution JPGs limit how clean the trace can be. Logos with photographic elements (like a face inside the icon) don't convert to vector by definition — vector can't reproduce photographic detail.
Option 2: Manual tracing in vector software
If you have Adobe Illustrator, Inkscape (free), Affinity Designer, or similar vector software, you can trace the JPG yourself.
Step-by-step in Illustrator:
- File → New. Create a document at the size you'll output at.
- File → Place → select your JPG. Click to place.
- Click the placed image to select it. In the top toolbar, click "Image Trace."
- Choose a preset. For a simple logo: "Black and White Logo" or "3 Colors" or "6 Colors."
- Adjust the trace settings if needed via the Image Trace panel.
- When the preview looks right, click "Expand" in the top toolbar. The trace becomes editable vector paths.
- Delete the original JPG layer. Clean up any stray points or unwanted shapes.
- File → Save As → choose AI, EPS, or SVG.
Step-by-step in Inkscape:
- Download Inkscape from inkscape.org. Install.
- File → Open → select your JPG.
- With the image selected, Path → Trace Bitmap.
- Choose "Single scan" for one-color or "Multiple scans → Colors" for multi-color.
- Adjust threshold. Click "Update" to refresh preview.
- Apply. The trace appears on top of the JPG.
- Delete the JPG. Select the vector trace.
- File → Save As → "Plain SVG."
What works: Free or already paid for. Full control over every parameter. Output goes straight into any printing or design workflow.
What doesn't: Learning curve. Manual cleanup needed for most traces. Plan 15-60 minutes per logo depending on complexity.
Option 3: Hire a designer to redraw
For high-stakes logos (premium brands, recurring use across many products, complex designs), commissioning a designer to redraw from scratch in vector software gives you the highest-quality result.
How to find one:
- Fiverr, Upwork: Budget-friendly, variable quality. Look for portfolios that show vector work, not just digital painting.
- 99designs: Mid-range. Quality is usually good. More expensive than Fiverr.
- Local design agencies: Highest cost. Best for ongoing brand relationships.
- Direct freelance designers: Find via Behance, Dribbble, or LinkedIn. Negotiate directly.
What to expect:
- Cost: $50-$500+ depending on complexity and designer experience
- Time: 2-7 days for most logo redraws
- Deliverables: Should include AI, EPS, SVG, PDF, and PNG exports — specify upfront
The designer is rebuilding your logo from scratch, not just tracing. The result is true vector with clean paths, optimized for any output. If your logo has hand-drawn elements or complex artistic details, a designer can preserve the original character better than auto-tracing.
Option 4: Find the original vector files
Before you spend any time or money converting, look for the original vector files. They probably exist somewhere.
The full recovery workflow for missing or lost vector files covers the order to search: your own systems first, then the original designer, then old vendors, then conversion.
About half of small businesses who think they've lost their vector files actually have them — they're in an old email attachment, a forgotten cloud folder, or a former employee's hard drive. Worth a search before you commit to conversion.
Common conversion issues
The trace has jagged edges. Source JPG is too low-resolution. Find a higher-resolution version or use AI vectorization tools that handle smaller inputs better.
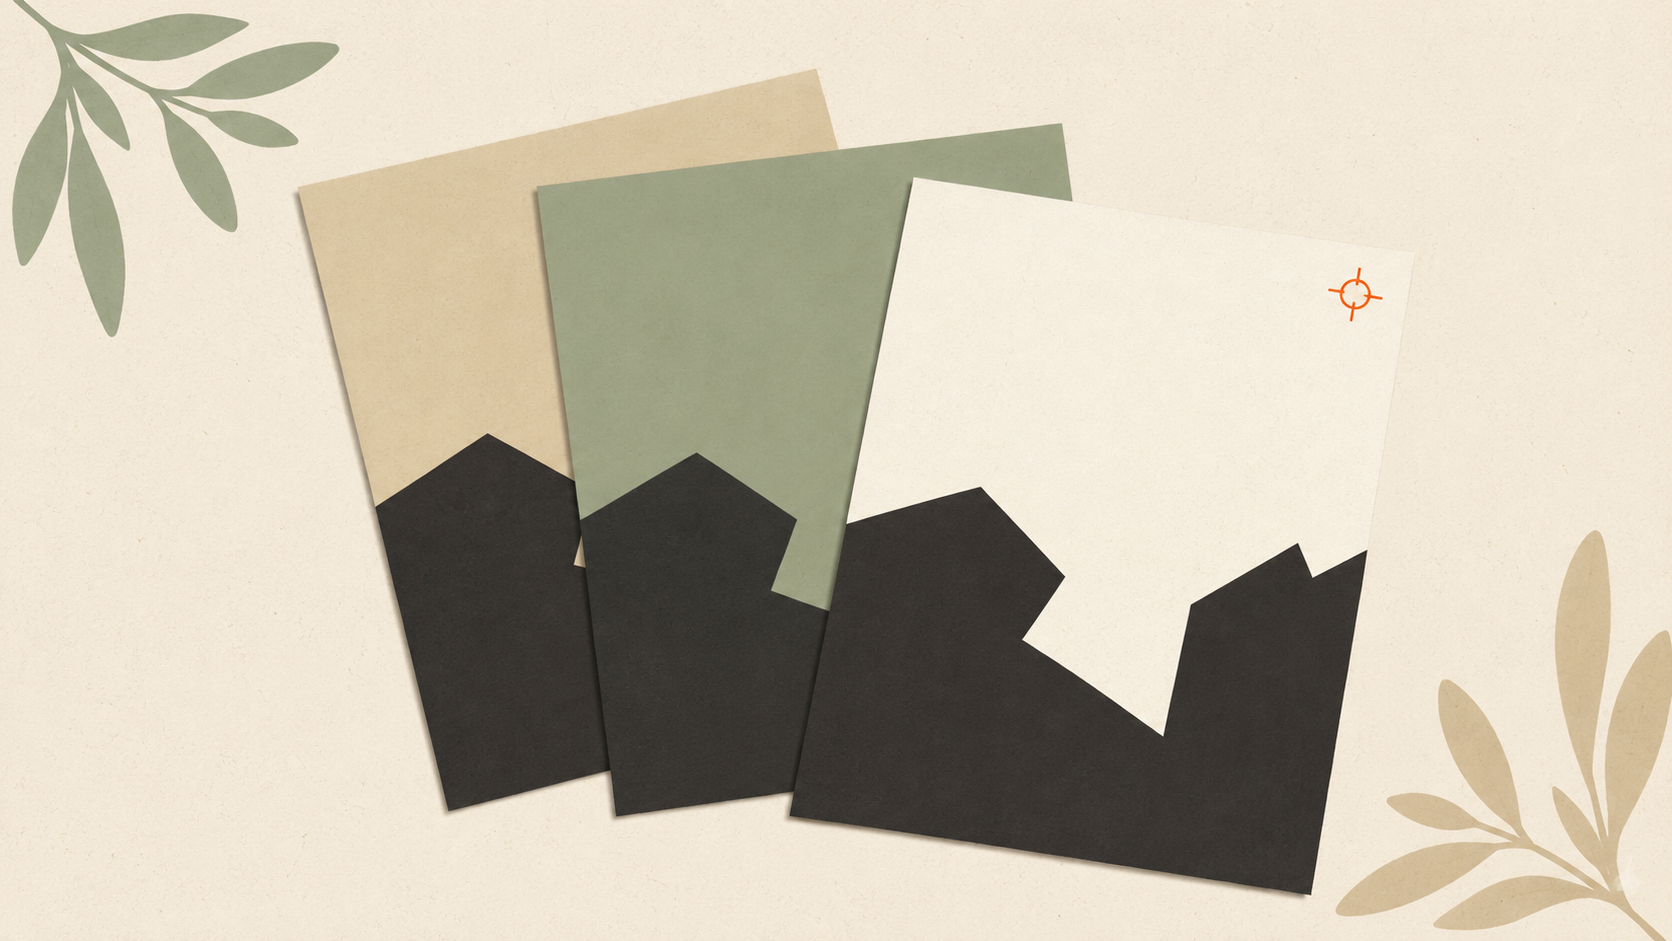
Colors are off after conversion. Vector tools approximate JPG colors as nearest swatch matches. If your brand colors are critical, manually adjust the color values in the vector output to match your Pantone or hex specifications.
Small details disappeared. Common when converting low-resolution JPGs at significant scaling. Either find a higher-resolution source or accept the simplification.
Trace has too many anchor points. Auto-traces sometimes create unnecessarily complex paths. Use the "Simplify" function in your vector software (or the equivalent) to reduce node count without changing the shape significantly.
Multi-color logo cuts as one layer. The trace didn't separate colors. Try a multi-color trace setting, or manually separate colors in vector software after tracing.
When the JPG is too damaged to convert
Sometimes the JPG you have is just too far gone. Signs you've hit this point:
- The logo looks blurry or pixelated even at the size you have it
- Heavy JPEG compression artifacts visible around edges and color transitions
- Multiple resave cycles have degraded the image
- The source was screenshot-of-screenshot quality
For these, you need to either:
- Find a higher-quality source (your original designer, an old printed sample you can rescan, your website's source files)
- Have a designer redraw from whatever reference you have
- Clean up the low-resolution logo before attempting conversion
For hand-drawn or sketched logos that need vectorization, the workflow is slightly different — sketches have specific cleanup steps before tracing.
Which method to choose
For most small businesses converting their existing logo:
- Have time and basic design skills, want free: Inkscape manual trace
- Want fast, clean results, willing to pay small fee: AI vectorization
- Have Adobe Creative Cloud: Illustrator Image Trace
- Premium project, no time pressure, budget available: Hire a designer
- Want to check the obvious first: Search for the original vector files
For 80% of small businesses doing typical printing and embroidery, AI vectorization gives the best balance of result, cost, and time.
After conversion: what to verify
Once you have a vector version of your logo, test it before relying on it:
Open in a vector editor. Inkscape (free) or Illustrator. Verify all elements appear correctly and can be selected as discrete shapes.
Zoom to 400% or 500%. Edges should stay smooth. If they pixelate, you have an embedded raster pretending to be vector.
Test at output size. Print a test page at the size you actually need. Does the logo look as crisp as expected?
Verify color accuracy. Compare against your brand reference. AI vectorization typically preserves colors well, but check critical brand colors specifically.
Try in your target software. Cricut Design Space, your printer's portal, your email signature — open the vector file in whatever you'll actually use it in. Confirm it works.
If any of these tests fails, return to the conversion step and adjust.
The takeaway
Converting a JPG to vector isn't optional for serious printing — it's a one-time fix that pays back across every future print job. Use AI vectorization for fast, affordable conversions. Use manual tracing if you have the software and the time. Hire a designer for high-stakes work. Search for original files first if there's any chance they exist. Get vector files in hand and stop having this conversation with vendors.
Stop redrawing customer logos by hand
ArtworkUpgrade vectorizes any logo or design in 30 seconds. Free preview before you pay. $7 per design, all formats included.
Try free preview →More guides for How-To Tutorials
How to clean up a low-resolution logo: a practical workflow
Step-by-step guide to salvaging a low-resolution logo: assess the damage, reduce compression artifacts, upscale carefully, and vectorize for the permanent fix.
How to prepare your logo for an embroidery order: a checklist
What to send your embroiderer to get the best result: vector file formats, size and placement specs, color references, and how to handle it when you don't have vector files.
How to prepare a logo for screen printing: the customer guide
Step-by-step file preparation for screen printing: vector format, color separation, outlined text, Pantone references, line weights, and what to send the shop.