How to export SVG from Illustrator or Canva: settings that matter
How to export SVG from Illustrator or Canva
You designed your logo in Illustrator or Canva. Now you need SVG for the web, for Cricut, for printing, or for a developer. Both tools can export SVG, but the settings matter — and Canva has more limitations than people realize.
Here's exactly how to export clean SVG from each tool, what settings to use, and what to do when the export doesn't work right.
Why SVG specifically
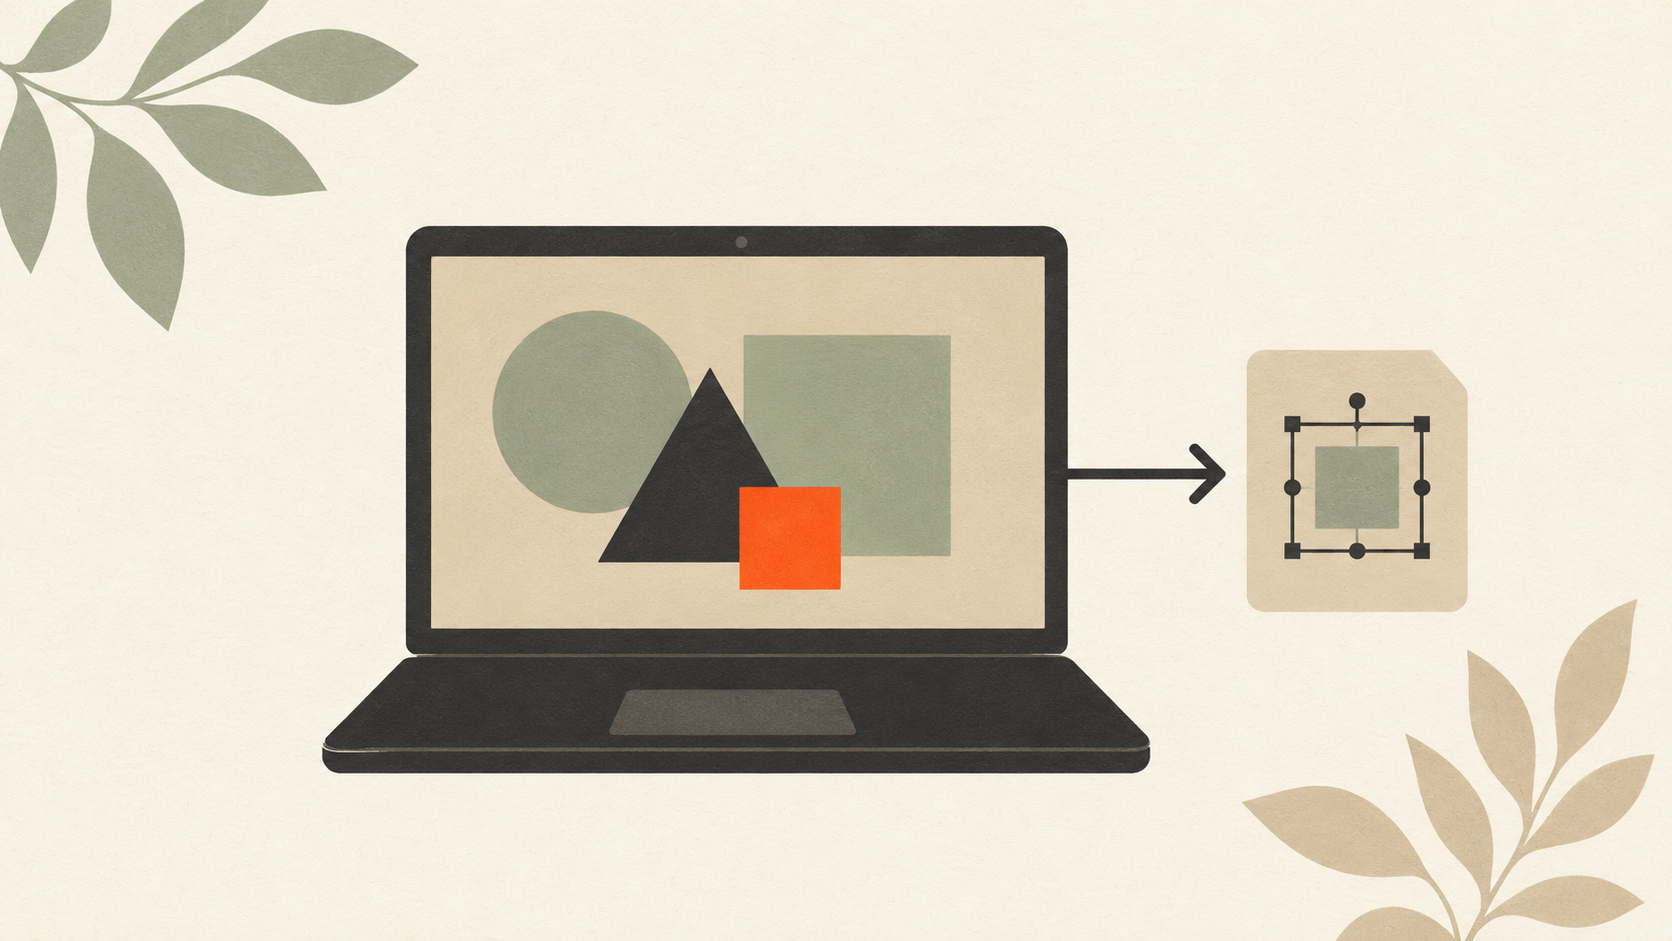
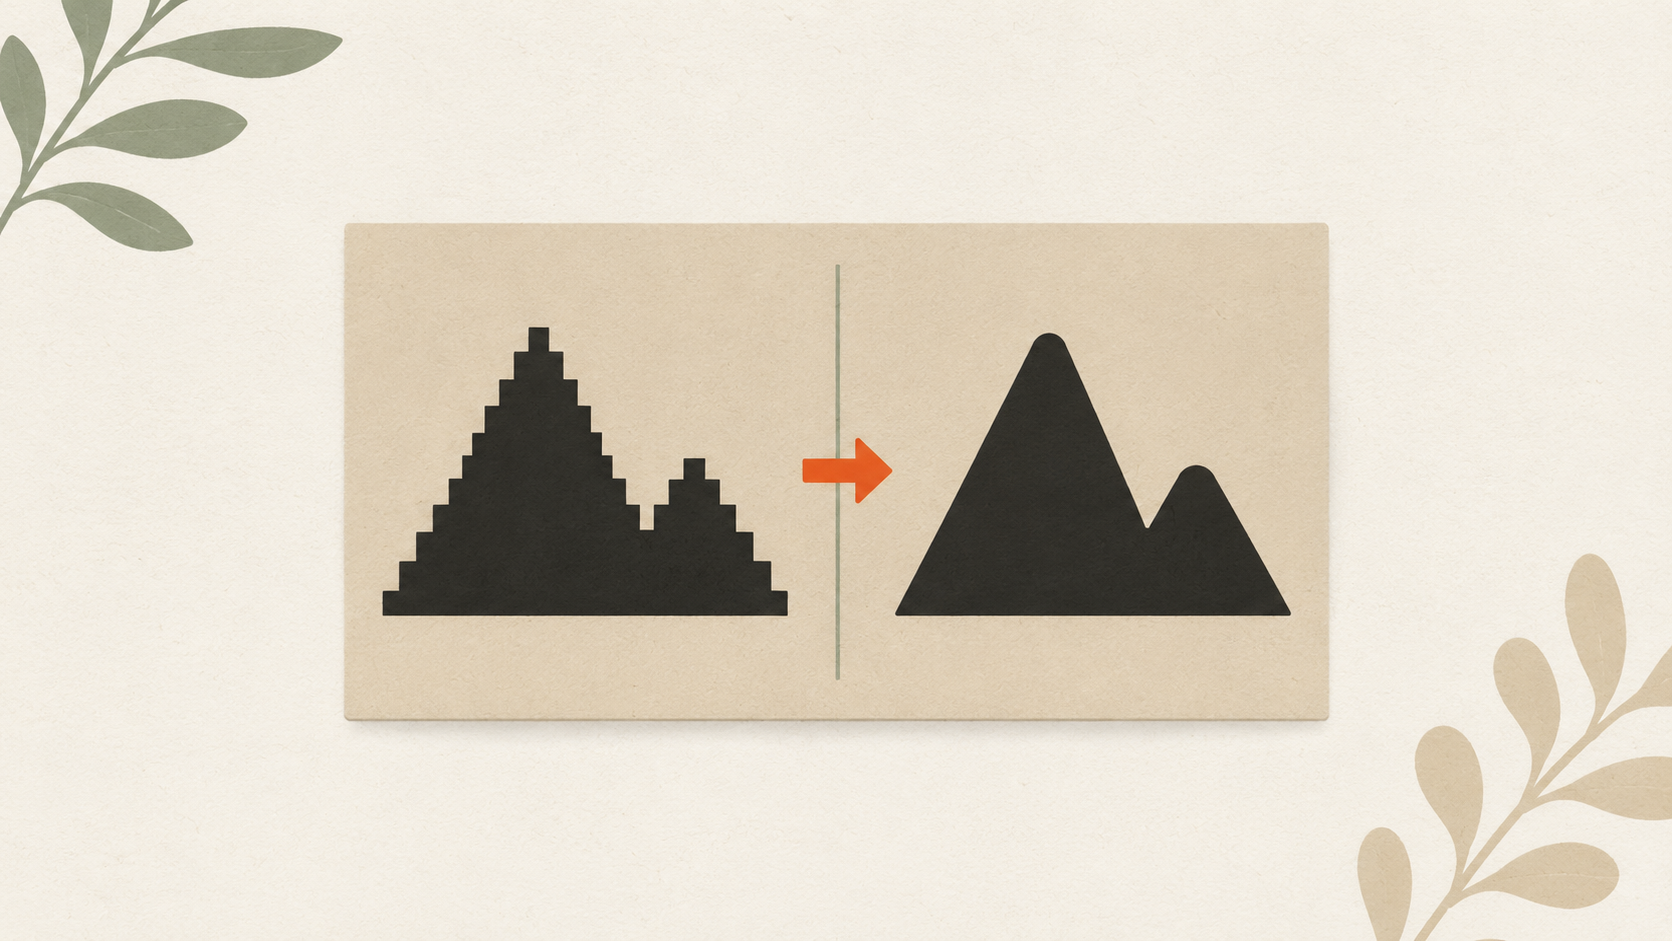
SVG (Scalable Vector Graphics) is the universal vector format for web and most modern applications. Unlike raster formats (JPG, PNG), SVG scales to any size without quality loss. Unlike older vector formats (AI, EPS), it's natively supported by browsers, modern design tools, and cutting machines.
You'll need SVG for:
- Embedding logos in websites (sharper than PNG on retina displays)
- Cricut and other cutting machines
- Designer handoffs to developers
- Many email signature applications
- Print workflows where flexibility matters
Both Illustrator and Canva can produce SVG, but the workflow differs.
Exporting SVG from Adobe Illustrator
Illustrator is the gold standard for SVG export. Full control, predictable output, all the options.
Step 1: Prepare the file
Before exporting, clean up the file:
- Convert text to outlines. Type → Create Outlines (Ctrl/Cmd + Shift + O) for all text elements. This prevents font substitution issues when the SVG opens elsewhere.
- Expand strokes. Object → Expand → check "Stroke" → OK. This converts outlined strokes into closed shapes, which display more reliably across software.
- Remove hidden elements. Object → Show All if anything is hidden, then delete what you don't want.
- Check artboard size. Make sure your artwork fits within the artboard. SVG export uses artboard dimensions.
Step 2: Export
- File → Export → Export As.
- Choose location for the file. Set Format to SVG.
- Click "Export." The SVG Options dialog appears.
Step 3: Settings
In the SVG Options dialog, recommended settings:
- SVG Profile: SVG 1.1 (compatible with everything)
- Type: Convert to Outline (forces all type to paths)
- Subsetting: None (no font information needed if all type is outlined)
- Image Location: Embed (includes any raster elements in the file) or Link (references external files — use Embed unless you have a specific reason)
- CSS Properties: Style Attributes (or Presentation Attributes — depends on your destination)
- Decimal Places: 2 (smaller file size with minimal quality loss)
- Encoding: Unicode (UTF-8)
For Cricut specifically:
- Convert all text to outlines before exporting
- Use Style Attributes for CSS
- Keep Decimal Places at 2 for smaller files
For web use:
- Convert text to outlines (if you don't need the SVG to use system fonts)
- Style Attributes for clean integration
- Decimal Places 1-2 for minimum file size
Click OK to export.
Step 4: Verify
Open the exported SVG in a browser, in Illustrator (different file from your source), or in another vector editor. Check:
- All elements present
- Colors correct
- Text readable (and rendered as paths, not as type the system might not have)
- File size reasonable (logo SVGs typically 5-50 KB, not megabytes)
If something looks off, return to the source AI file and adjust before re-exporting.
Exporting SVG from Canva
Canva supports SVG export, but with significant restrictions compared to Illustrator. Worth knowing what they are before relying on Canva for SVG work.
What Canva CAN export as SVG
- Designs created using Canva's vector elements (shapes, lines, type, frames)
- Logos built in Canva from vector components
- Simple illustrations using built-in design elements
What Canva CAN'T export as SVG cleanly
- Uploaded raster images (they remain embedded as raster within the SVG)
- Designs using filter effects (filters often don't translate cleanly)
- Complex multi-layer designs with effects (shadows, glows often lose quality)
- Anything where you need the SVG to be truly editable elsewhere
Step 1: Check your Canva plan
SVG export is a Canva Pro feature (paid subscription). Free Canva users can export PNG and PDF but not SVG. Confirm your plan supports SVG before starting.
Step 2: Prepare your design
Before exporting:
- Use only Canva's vector elements (shapes, lines, text)
- Avoid uploading PNG or JPG elements if you want true vector output
- Use Canva's text tools (these export as text or paths depending on settings)
- Keep the design simple — fewer layers and effects export more reliably
Step 3: Export
- Open your design in Canva.
- Click "Share" in the top right.
- Click "Download."
- Choose File type: SVG.
- Click "Download."
Step 4: Verify
Open the exported SVG in a browser or vector editor:
- Does everything look the same as in Canva?
- Are uploaded images still raster within the SVG, or did they come through as expected?
- Is text rendered as expected?
If the export doesn't look right, you may need to redo the design with only Canva's native vector elements, or accept that Canva isn't the right tool for what you need.
When Canva SVG fails
Common issues:
- Raster images embedded in the SVG. The SVG file is large because it contains a JPG inside it. Fix: Don't use uploaded raster images if you need a true vector SVG. Recreate those elements using Canva's vector tools, or use a different design tool.
- Effects lost or simplified. Drop shadows, glows, filters often don't translate. Fix: Avoid these effects, or apply them in destination software after import.
- Multi-color elements simplified to one color. Some Canva elements don't preserve color information in SVG export. Fix: Recreate using simpler vector primitives.
- File doesn't open in Cricut Design Space. Some Canva exports have non-standard SVG markup that other software interprets differently. Fix: Open the Canva SVG in Inkscape, save it as "Plain SVG" (File → Save As → Plain SVG), then use that re-saved file.
For demanding SVG work (printing, cutting, professional handoff), Illustrator gives reliable results that Canva can't match.
Other tools that export SVG
Beyond Illustrator and Canva, several other options:
- Inkscape (free): Excellent SVG support, since SVG is its native format. Save As → Plain SVG.
- Affinity Designer (paid, one-time purchase): Strong SVG support, often cleaner than Illustrator for web use.
- Figma (free for individuals): SVG export from any frame or selection.
- Sketch (Mac only, paid): Export selected elements or whole artboards as SVG.
For most small businesses, the choice is between Illustrator, Canva, and Inkscape. Free vs paid, and how much SVG fidelity you need.
What if your logo isn't a Canva/Illustrator file in the first place
If you don't have your logo in either tool — maybe you have a JPG, PNG, or some other format — exporting SVG isn't the right question. You need to convert to vector first.
The full workflow for converting raster to vector and the related PNG-to-SVG-for-Cricut workflow cover this in detail. Briefly:
- AI vectorization tools like ArtworkUpgrade convert raster to vector in a single step, with SVG as one of the output formats.
- Manual tracing in Illustrator or Inkscape produces the same result with more manual work.
- Hiring a designer to rebuild the logo in vector software gives the best quality.
Once you have a vector source, SVG export is straightforward.
What good SVG looks like when you're done
Test your exported SVG:
- Open in a browser (Chrome, Safari, Firefox). It should render cleanly.
- Open in Inkscape (free). Verify all elements appear and are editable.
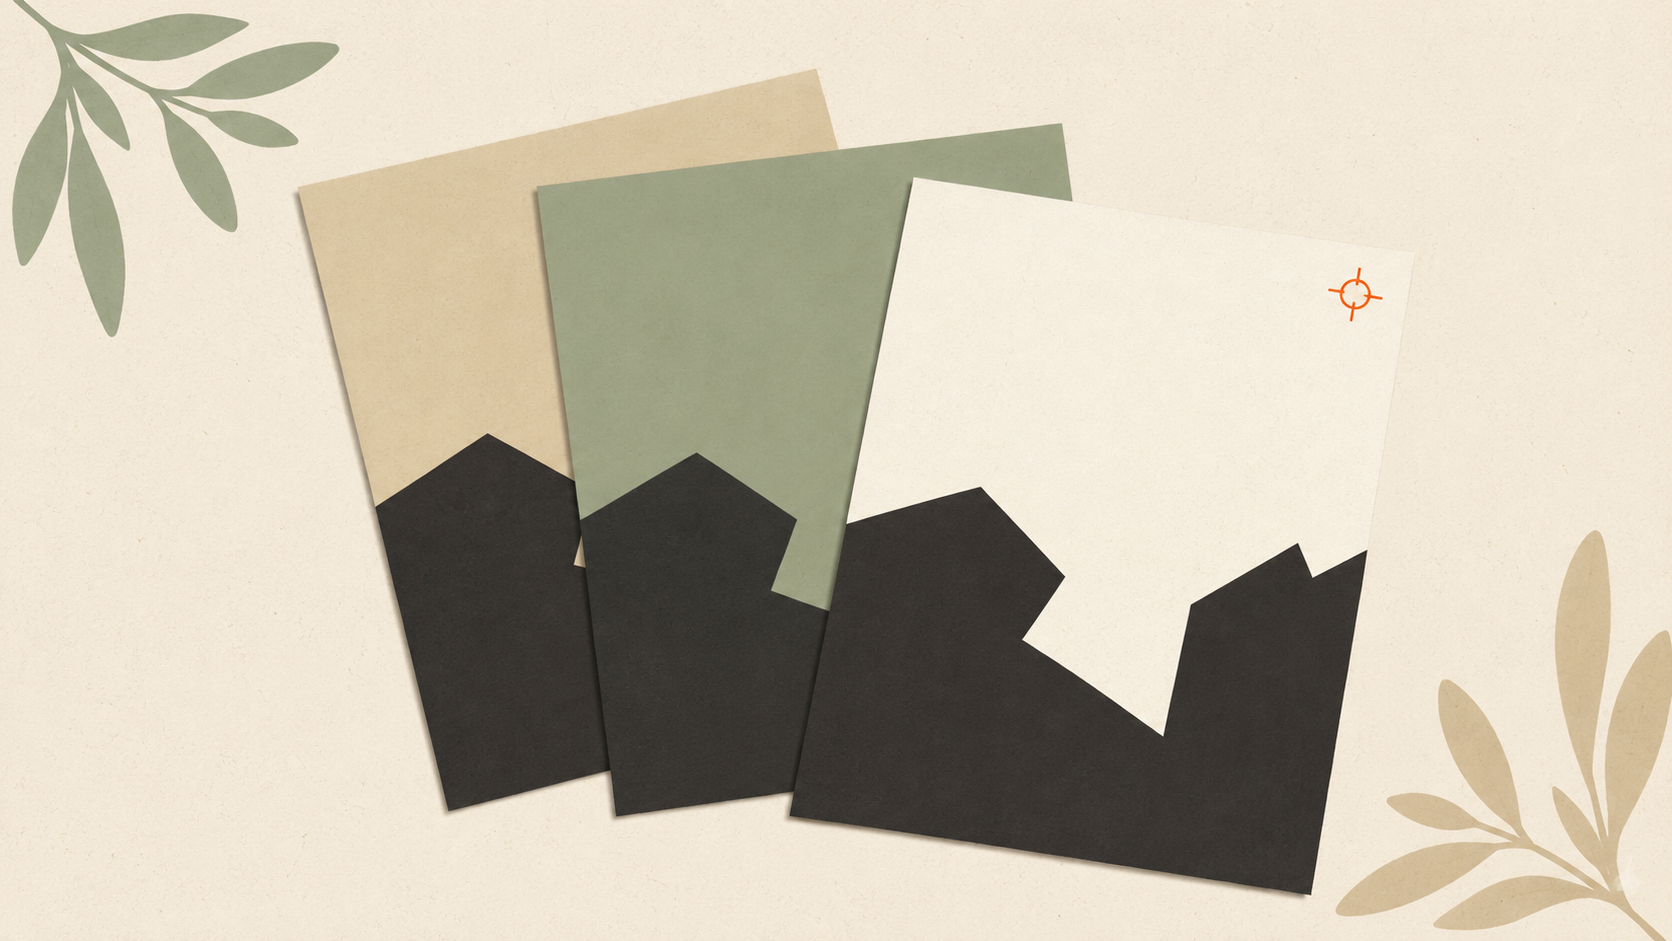
- Import to Cricut Design Space. Multi-color SVGs should import as separate layers.
- Open in Illustrator (different file from your source). Compare against your source.
If all four work cleanly, your SVG is solid. If any of them show problems, return to the source file and adjust.
A clean SVG of a typical logo is between 5 KB and 100 KB. If your SVG is several megabytes, it probably has embedded raster content inside it — common with Canva exports of designs that included uploaded images. The file works but isn't a true vector.
Quick reference: which tool for which job
For most users choosing between tools for SVG output:
Illustrator when you need professional control, will work with developers or printers who expect clean SVG, or are building a SVG library that needs to be maintainable over time.
Canva when the design was built natively in Canva using its vector elements, the use case is forgiving (social media, simple web use), and the design is straightforward.
Inkscape when you need a free option, are willing to invest in learning the tool, and want full vector control without an Illustrator subscription.
For one-off conversions where you don't need to maintain the source file, AI vectorization tools that output SVG directly are often the fastest path.
The takeaway
Illustrator exports SVG reliably with full control. Canva exports SVG with limitations — works for designs built entirely from Canva's vector elements, struggles with uploaded raster content. Pick the right tool for the work, set up your file correctly before exporting, and verify the output before relying on it. If you don't have a vector source to begin with, convert your raster to vector first — then SVG export is straightforward.
Stop redrawing customer logos by hand
ArtworkUpgrade vectorizes any logo or design in 30 seconds. Free preview before you pay. $7 per design, all formats included.
Try free preview →More guides for How-To Tutorials
How to clean up a low-resolution logo: a practical workflow
Step-by-step guide to salvaging a low-resolution logo: assess the damage, reduce compression artifacts, upscale carefully, and vectorize for the permanent fix.
How to prepare your logo for an embroidery order: a checklist
What to send your embroiderer to get the best result: vector file formats, size and placement specs, color references, and how to handle it when you don't have vector files.
How to prepare a logo for screen printing: the customer guide
Step-by-step file preparation for screen printing: vector format, color separation, outlined text, Pantone references, line weights, and what to send the shop.